Wednesday, February 26, 2014

FO: Mitered Detail Cardigan


Success!  At least one of last week's WIPs is complete!
Originally meant for the Ravellenics (Ravelry Olympics-watching related activities), the "Mitered Detail Cardigan" project really pushed me to learn how to better use my knitting machine.  Originally, this yarn was going to be Mary Anarella's lovely "Simplicity" cardigan, but as my belly kept growing, I thought, "that look's just not going to work on me." So, I set about designing this cardigan while keeping "Simplicity" as a visual inspiration, but sharpening it up a bit for pregnancy and after-pregnancy use.  Here's the result...


The front diagonal details were done using short rows.  So fast!


Back diagonal details done by transferring stitches.  Not so fast.


The folded over border was knit in two halves on the machine and then stitched together at the back of the neck.  

That turning purl row, which is so simple to do by hand, was kind of a nightmare to do by KM (knitting machine).  See, I didn't know that there was a difference between stitch transfer tools and garter bars.  There is a difference.  A big difference.  These large transfer tools are simply giant combs that hold stitches and help you move them over, and they have a tiny hole like a small transfer tool.  

Garter bars on the other hand, allow you to, not just move the stitches, but also flip them over and efficiently create a garter stitch.  I did the first side's turning row by hand-manipulating each stitch individually with a tappet tool.  It took me over an hour.  I did the other side by attempting to use the transfer tool as a garter bar, and failed.  I ended up holding the transfer comb horizontally directly under the hooks of the machine and individually lifting the back of each stitch onto its respective hook.  Faster than tappet tool, but not very much fun.  ((insert hysterical laughter here))


The back mitered square detail was not done with short rows which were fast and lovely by KM.  Each of those centered double decreases was done using the stitch transfer combs I mentioned previously.  All the stitches on each side were moved over by one toward the center where they met in the middle.  It took me 3 hours to do each side.  My friends at the local SnB laughed at me and said it would have been faster by hand.  True.  But, I learned how to use my machine with confidence!  That was worth it, right?  How else was I going to learn other than by challenging myself to do ridiculous things under an unrealistic artificial deadline?  What's that you say?  Was that reasonable advice you just gave me? Pshaw.  Reason-schmeason.


Project Title: Mitered Detail Cardigan
Designer: Me  (using Simplicity by Mary Anarella & 128-14 Jacket in ”Fabel” by DROPS design as inspiration)
Yarn: Wollmeise Lace in "Nobody's Perfect - Spice Market"
Amount Used: 281g of 300g skein
Machine Tension Settings: T6.75 for main knitting, T6 for edging
Main Gauge: 26 sts x 40 rows = 4"
Border Gauge: @T6, 24 sts x 50 rows = 4" (blocked to emphasize horizontal stretch)

Updated to add:  the refined Machine Knitting pattern can now be found here on Ravelry.

Monday, February 24, 2014

Tutorial: A Quick Dye Job


A couple of years ago, I asked a friend of mine who is a professional yarn-dyer how she dyed one of her colorways into a gradient.  I just couldn't imagine controlling the flow of color using the tradition ways of dyeing skeins.  So, she told me.  She doesn't dye the yarn in the skein, she dyes it while it's knitted up like a blanket.

((brainpop))

Materials:

  • 100g skein of yarn meant for dyeing (or natural fiber yarn that can be over-dyed) knitted into a blanket or scarf (a knitting machine makes this faster)
  • gloves
  • kettle to quickly boil water and mix colors
  • Kool-Aid packets (5 to 15 depending on color intensity - this tutorial used 5 plus a pinch of a 6th pack)
  • a microwave
  • plastic bag or surface protector
  • microwave-safe bowl big enough to hold knitted blank
  • jars to mix Kool-Aid (how many depends on how many colors you want to mix)
  • yarn swift

Using a vague version of her technique, I used the knitting machine to knit up one skein of yarn into a kind of blanket or wide scarf.

1 skein of Knit Picks Bare
Then, I soaked it in warm water while I mixed the Kool-Aid colors.  I used 6 small packets of Kool-Aid, and the yarn color is still quite light.


Kool-Aid "Recipes"

1) basic light blue = 1 pack of Ice Blue Raspberry Lemonade + 1 pack Berry Blue + a pinch of Cherry

2) darker green = three dips in the combo of 1 pack Ice Berry Blue Raspberry Lemonade + 1 pack Lemon Lime + a pinch of Cherry

3) yellow blending = 1 pack Lemonade

All colors used at least one full pack of Kool-Aid mixed in a small jar (about 1.5 Cups) of just-boiled water.


Dyeing Procedure

Once all my colors were mixed, I gently poured blue color onto blanket which was set atop a plastic bag big enough to cover my surface.  Note: I wish I’d rolled the wet blanket and dipped it into the bowl for more even coverage. Ah well!


Then, I poured some of the green dye into a bowl, and with a rolled blanketb I dipped the end of the blanket into the bowl with 1/3 green mix, then dipped again, but deeper, with 1/3 green mix, then even deeper with the last of the green mix to create a kind of gradient.

But, where there was a bit too much contrast, I added yellow, pouring directly from the jar and using my hands (in latex gloves) to kind of finger-paint the color.


Then, I cooked the blanket with enough water to slightly cover it in a Pyrex bowl in the microwave for about 3 minutes (checking on it and turning it every minute or so).

I rinsed the blanket in warm water, soaked in “Soak” then spun it dry in washing machine, and unwound gently to dry in hank-form.

after spinning it dry
winding slightly damp yarn is pretty easy

The colors came out much lighter than anticipated, but I'm still pleased with it.  If I want super-intense colors next time, then I could mix larger quantities of color (more Kool-Aid packs + more just boiled water).  But, this fairly non-toxic and relatively quick (with a knitting machine and microwave!) dyeing method appeals to me very much, and I think I will try it again in the future!


So... any ideas on what to make with the newly dyed yarn?


Wednesday, February 19, 2014

WIP: What's in progress?

What's in progress?  Let me show you!  Here's what I've been working on...

In Hand Knits:
On my double pointed needles, there's currently a second mitten!


This is the second mitten of red/white pair using my Rosita Mittens pattern from Knitscene Accessories, 2013.  I think I managed to make a larger size by mistake.  Oh well.

In Machine Knits:
I'm working on a cardigan design I'm temporarily calling "Mitered Detail Cardigan".  I was doing all the calculations using the old-school methods you see below (tape measure, calculator, and pencil).


Here's the first mitered square done on the machine.  It took a LOT of hand manipulation using a garter bar to move each row of stitches toward the center to create the centered double decrease, but it looks good.


Here's the completed back piece of the cardigan.

In Sewing:
I made my first overlocked zip-pouch.  This is one of three that's in progress.  It's my test piece, and it will likely be the subject of a giveaway very soon.  Who knew that boxed corners had to be so accurate?!


I used the Liberty Lifestyle fabric I wrote about earlier along with some other quilting cottons, fusible fleece, and a zipper from my zippers-on-a-roll.  Can't wait to master the boxing of corners.  What are you working on?

Monday, February 17, 2014

Finished Object: Crystallize Beret

This lovely hat is the second I've made of its kind.  My friend, Amanda, over at Dilettant Knits designed the hat originally for Knitscene.  When the design rights reverted back to her, she updated the pattern adding multiple sizes, and I was able to test knit it for her.  I gave away the first test-knit as a gift, and finally finished this one for me!


Pattern: Crystallize by designer Amanda Bell
Size: small
Yarn: madelinetosh Tosh Merino Light

Wednesday, February 12, 2014

Knitting Machine: Fairisle Experiments

I am a huge fan of fairisle knitting by hand.  I teach a course every once in a while to people who want to learn the technique, and I enjoy spreading the love of fairisle wherever I go.  It's one of those techniques that looks way harder than it actually is.  And, very recently (last week), I started to experiment with the technique on my knitting machine using the punchcards.  At first, I was stymied by some technical issues with the patterning.

See what I mean?

Weird!  Why is it only knitting in pattern every other row?!

It was time for some detective work, and I consulted the amazingly generous and talented members of Ravelry's Machine Knitting Group.  Seriously, they are so knowledgeable.  First, I checked the lever settings as was recommended.  No luck. Then, someone chimed in with a similar knitting machine, and said it could be an un-sprung spring in the undercarriage of the knitting machine.

If you notice, every knitting machine has a carriage that slides across the bed of the machine and it's got tons of tiny cams, gears, levers, springs, etc. underneath that carriage.  I turned mine over and started by looking to see if changing the different modes (tuck stitch, stockinette, fairisle, etc.) made any of those levers move.  They usually move symmetrically, but low and behold, mine did not!


Instead, I found wads of cat hair, fluffy junk, and some sticky, gummy springs.  But, luckily, I didn't have to reattach a spring.  Those springs are tiny. They were all intact, just gummy.  So out came the latex gloves, rags, and machine oil... Fast forward fifty cotton swabs, tweezers, and a dirty rag later...


BAM!  ZIP!


Success!

Thanks for your help, Ravelry Machine Knitting Mods!!   The Empisal Knitmaster 324's knitting smoother than ever.

I still prefer hand-knit fairisle for more complex patterning, and I especially dislike long floats like in that center pattern.  Yuck!  But now I know how use the punchcards on my knitting machine, and that's a start!

Monday, February 10, 2014

Unwinding

Sometimes you unsew, sometimes you unknit.  This weekend it was time to unknit and unwind... literally.


The project:
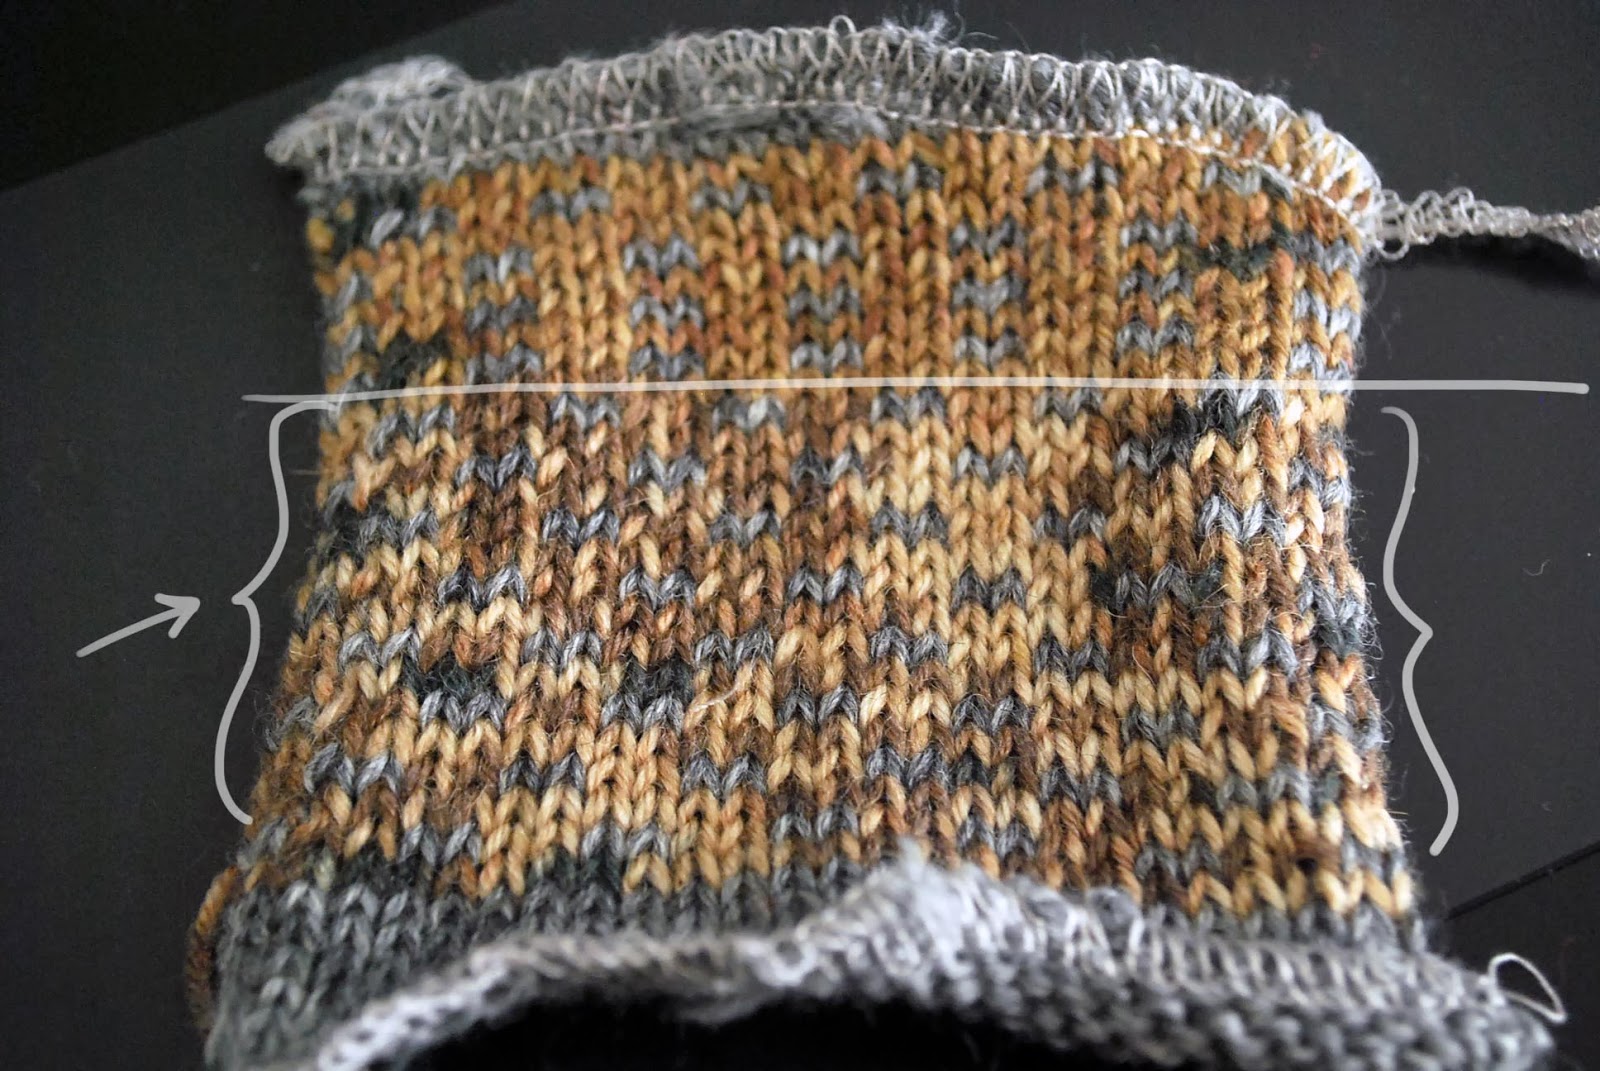
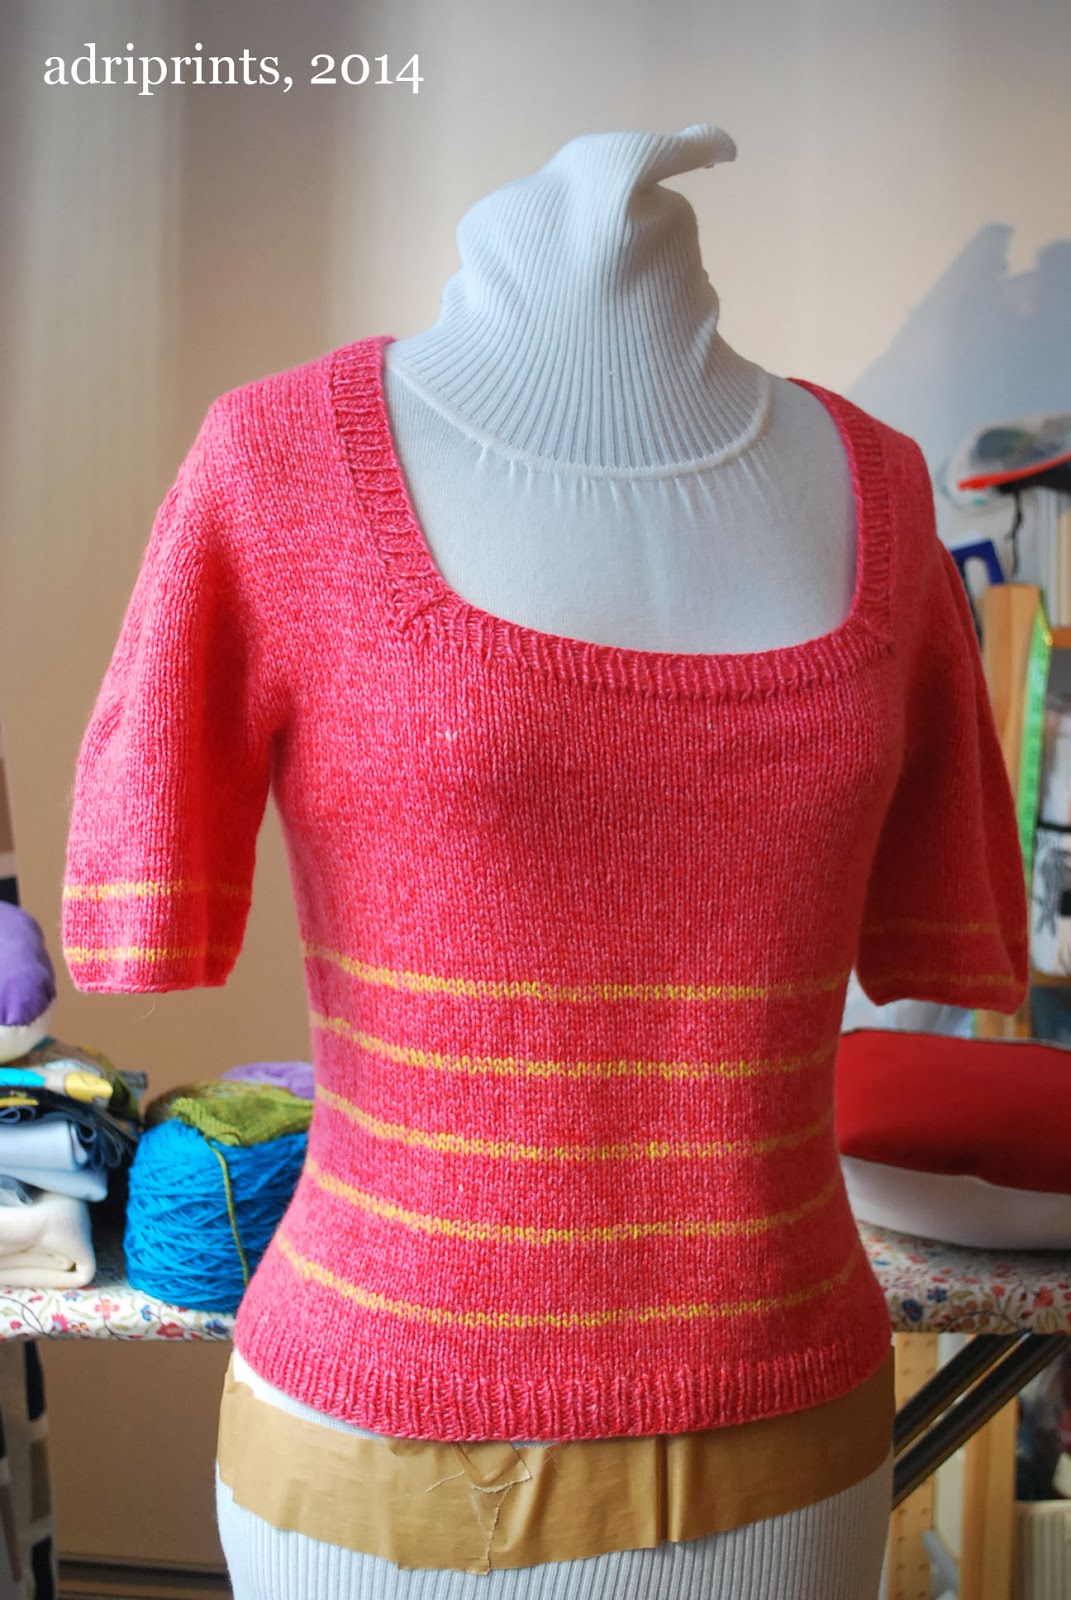
Avril in April was a contiguous method hand-knit top completed last year, but worn only once.  The sleeves and neckline were a bit too unflattering for me.  The neckline came down too low, and the sleeves were weird and poofy. Cool contiguous technique though!  The yarn used is a beautiful, bubble-gum/pepto/play-doh pink cashmere blend yarn.  So, I didn't want to just trash or donate it.  Despite the slightly pop-princess color, I truly love the yarn.  I also have some in play-doh yellow which I used for the stripes. I think it could be something else that I'd wear more often.  Yes.  Time to unwind!


Unwinding takes time!!


Every knitted stitch that was picked up needed to be unwound by hand with a hook or tapestry needle.  That took some patience, but in the end there's this!


 A bunch of little pink balls and one big hank.  So, how do you re-use the yarn once it's all kinked up from knitting?  Well, next, I'll secure the yarn off the winder.  Then, I'll soak it and hang it to dry with a knitting machine weight on one end.  When it's dry, I'll re-wind it into a yarn cake and knit it up!

Saturday, February 8, 2014

Correspondence

I think the guy at the corner post office knows my name now-- which is great!  That means I've finally finished and mailed all the stuff that should have been sent out ages ago.

You already saw the finished baby blankets in the previous post, but I also finished a few other things!  A friend and I are doing a hand-lettered mail exchange.  Here's my letter to her:


Sorry, I know her address is covered, but underneath it's lettered really nicely. I wanted to respect her privacy, you know?

I also did this hand-made facebook exchange thing and I finally got around to making the items!

First, there's a hand illustrated postcard to a friend of mine.  It's an inside joke, but for the life of me, I can't remember the punchline.  All I remember is that many moons ago, I made my friend, VJ, a silkscreen t-shirt with the word "beefmaster" on it and a piece of toast.  Here's the concept revisited:


Then, there are the eye-glass cases I made from quilting scraps for two friends of mine who live in sunnier locations:


They were made using a simple cardboard template that measured 9" x 5" and then quilted and sewn together.  Is anyone interested in a tutorial?  Let me know in the comments if you are.

And finally, in the mail I got my contributor's copy of KnitNow's Issue #30 with my pattern on the cover! 


What a crazy awesome issue!  It has so many lovely extras like charts for colorwork lettering and magnet strips to keep track of charts.  Very handy!  And a lovely insert with cute winter accessories.  This issue has lots of quick knits at various skill levels, and it's chock full of knitted lovelies in general.  I feel so lucky to have been a part of the gang for Issue #30!

Thursday, February 6, 2014

FO: Twinsies Baby Blankets


I finally finished my first big machine knitting project/commission!  The blanket was machine knit in strips, sewn together, and finished by using simple crochet borders.  The green blanket used a single-crochet border followed by a triple-crochet plus single chain stitch to create the dashed-dot look.  The pink/purple blanket used a series of increasing crochet stitches to get a subtle scalloped look.  Both were then steam pressed from the opposite side with a damp press cloth to stop them from curling... but they still kind of curl.


Both blankets are done!  I've already packed them and prepped them for shipping. :)

blocking

close-up
It's the first time I've done a dedication/title block/ blanket info square.  Hopefully the end-user will know not to shove these in the drier.  These are 75% superwash wool 25% nylon, but even then, I'd still avoid the drier.

dedication square
 Yay! Now, I can focus on knitting stuff for my baby!

Previous posts about these blankets:
Boy Twin Blanket Complete
The Concept

Tuesday, February 4, 2014

Full Disclosure, Life WIP

My latest stash acquisitions are actually a gift from one of my friends.  She thought of me and brought me fabric from Japan!  And you're probably wondering why she's given me a bunch of baby-boy themed fabric... Well...

Time for a confession.  It's been a bit quiet around here on the blog, but in real life, it's been a lot more chaotic.  See, I've been holding something back from you all.  If you know me in person, then you can see what's going on, but I didn't want my life's issues to spill over into the blog.  I try to keep the blog focused on my work: knitting, illustrating, sewing, quilting, etc.  But, I'm about to shift gears, and I wanted you to know ahead of time.  As I look around the blogosphere, I've noticed that I'm at that age... that age where bloggers  who are in my age group are starting families.  What I'm trying to say is that I'm pregnant.  I'm very pregnant.


And, that's why I haven't really been sewing for myself.  It's been crazy.  This will be our first child, and we are over the moon to be almost at the third trimester.  As a nice science project-type thing, I started taking my measurements on a weekly basis starting from the early weeks of pregnancy... Let's just say we (baby + me) are growing at a quite rapid pace.  So quickly that if I started a dress today and it took me a week to finish, I may not fit into it.  We're talking about an inch (2.5cm) to two inches of bust difference in just a week some weeks.  So, I'm taking a break from sewing for myself.

Instead, I've been illustrating and finishing up loose ends.  I'm done with the blankets for the twins and will have photos to share soon.  I also would love to get some baby sewing done!  I hope I get time to do it.  I was hospitalized for a whole week last week fighting a serious infection, and I'm truly hoping that everything goes smoothly from here on out.  The baby is okay, but that was quite a scare.  So, I'm going to try and check in as often as possible with the latest projects, but just know I'm not as nimble as I was, and life... well, life has a way of letting you know when to slow down.  Point taken!

xoxo