Saturday, May 24, 2014

Wide Leg to Slimmer Leg Trousers

My friends were so generous during my pregnancy.  They gave me so much of their maternity clothes, that I really only had to buy new underwear (when my attempts at making my own fell flat, or to my ankles in this case)...

Either way, one of the most useful items I was given was this pair of trousers that I wore constantly since the middle of my pregnancy.  And, post-partum, I'm still wearing them, but they're getting loose!


Here's what I did to make them my style:

They started out as these wide-leg Gap trousers which make me look even shorter than I already am.  Too much fabric at the ankles really made me look bottom heavy, and they were really not my style.


So, I turned the trousers inside out and placed my modified slim-leg Jalie jeans pattern over the trousers. I wrote about that here. The results looked like this if you recall...
I placed the hand drafted pattern piece over the trousers so the crotch gussets would roughly match, and drew a curve that would ease the new leg design into the already existing style.  I left a lot of ease so the change wouldn't be too dramatic. Here's what they looked like after serging and turning up the hem.


Finished the legs using a blindhem stitch and that was that!


Thursday, May 22, 2014

WIP: Knitting for Baby

More Me-Mades in progress for baby Finn...


A BSJ! For the uninitiated, a BSJ = a Baby Surprise Jacket.  It's a classic pattern by Elizabeth Zimmerman (aka the Opinionated Knitter) from the late 1960's.  The pattern is written in a conversational style and makes for some real interpretive decisions when knitting.  It's a real departure from my own pattern writing style, but it's a very clever pattern, and I'm happy to give it a whirl.


I remember looking at this pattern years ago when I first started knitting, and found it so intimidating I never attempted it.  But, now that I've got a bit more experience... well, I can see why the old me was confused, but I'm a lot more fearless now, and understand the structure of the shape EZ was creating.

Sunday, May 18, 2014

Sew Mama Sew- Giveaway Day Winner


Congratulations entry  #40, Jess!
JessTue May 13, 12:57:00 AM GMT+2I followed you on bloglovin. I love your red mittens; I've done stranded ornaments, but haven't been brave enough to try mittens! 
You've won the green fabric zip box bag!  Hopefully, you've received an e-mail notification, but if not, please e-mail me.

Wednesday, May 14, 2014

Week 2 Round-up, MMM14

This week was craaaaazy!  I had the baby!  So, my me-mades are a mix of handmade items made by me to be worn by me, and also those that I made for baby.

Also, I couldn't have been luckier with how the delivery went, and baby and I are doing well!


If you'd like to make any of the above items that have a pattern, here are the links:
May 8- Colette Pattern's Sorbetto can be found here and my modifications can be found here.
May 12 - Ottobre Spring 1/2014 patterns can be found here.
May 13 - Blank Canvas Tee can be found here and my modifications are here.
May 11- Christine's Stay-On baby bootie pattern can be found here on Ravelry.
May 14 - Simplicity 2317 Lounge wear pajama pants can be found here.

Sunday, May 11, 2014

Giveaway Day: Green Zip Pouch


Sew Mama Sew is hosting that lovely May Giveaway Day, and I've got a zipper pouch for you all!  If you'd like to enter and win this hand-made, fully lined zipper pouch, follow the instructions in the Rafflecopter widget below!  Shipping internationally, too.

+1 for simply stopping by
+2 for commenting on this post
+2 for "liking" my facebook page (if you've already liked my facebook page then it's an easy +2)


Thanks for stopping by, and take a look around if you'd like.  I'm an illustrator who likes to design for hand and machine knitting, and I also love to sew and quilt.  If you think you'd like to read more about my work, feel free to follow me on Bloglovin' here...
Follow on Bloglovin

Friday, May 9, 2014

3 Hours Past's Blank Canvas Tee: Maternity Hack

During Me-Made-May 2014 I'd like to share some of the me-mades I've made in more detail.  In order to see if I could replicate a maternity/breastfeeding top that I love, I tried my hand at drafting and here are the results!


If you're just starting out sewing with knits, a great place to start is a simple dolman sleeved t-shirt like the Blank Canvas Tee from 3 Hours Past the Edge of the World's Blog.  If you're past that, are ready to try some drafting, and would like to make yourself a breastfeeding or maternity top, then this is the mod for you!

Start with the Blank Canvas Tee from 3 Hours Past...

Added Materials

  • additional fabric because the length of the T-shirt is extended.
  • 1 piece of elastic - soft baby elastic or elastic about 1/4" wide that suits your fancy in the width of your t-shirt + 2" or so.

Extra Skills

  • sewing with elastic

Special Tools

  • twin needle
  • stretch needle 75/11  (a whaah?  Here's a needle guide from Schmetz)
  • pencil and ruler
  • maybe tracing paper if you don't want to write on your pattern
Inspiration: From boob design, this short sleeve maternity/nursing top is one of my faves.  It fits really well and the split top allows for belly room.


Okay.  Ready to make your own?
First print and assemble your pattern pieces from 3 Hours Past... Then, here's our goal: we want to create two pieces for the front that overlap by around 5" / 13cm for the smaller sizes.  You'll likely need a bit more overlap for the larger sizes or if you usually find yourself doing large bust adjustments.

The goals.
Measure from just below the armpit curve to your goal overlap length, then add 1" / 2.5 cm so you have enough to turn up a hem.  Trace what you have onto your fabric, or onto tracing paper to make pattern pieces.  I've highlighted what I did to the pattern in the photo below.


See the red highlight?  That's the top front piece.  The blue highlight shows where the the bottom front piece would be.  For the bottom, I took the design line straight up and did not taper in like the pattern - it's housing a big belly at the moment, and I thought it would be advantageous to have a little leeway.

The other change I made here was adding length.  Add what you will.  My goal was to have a t-shirt around 28" so I added a few inches to the bottom of both the back and front bottom pieces to achieve that.  I just followed the design lines to my goal length. To calculate length, I measured from the peak of the shoulder, parallel to the fold line.

Alright, you've traced and cut your 3 pattern pieces.  Do you have your edging pieces (no change from pattern) cut, too?  And those two strips of interfacing for the shoulders?  What interfacing? I used Vlieseline G785 since it's stretchy, lightweight, and works with knits. Everything cut? Great! Let's get these pieces ready to put together.

Assembly:

  1. Step 2 from pattern: Iron on interfacing to WS of back piece shoulder edges
  2. Front top piece - finish bottom edge with zig zag stitch or serge, turn up and twin needle the hem from the right side
  3. Front bottom piece - add elastic to top RS edge using a triple zig-zag stitch.  How?  I simultaneously slightly stretch the elastic while guiding the main fabric under the presser foot.  I do not stretch the main fabric.  Right hand for elastic, left hand for guiding fabric.  I do this 2" at a time so I don't lose my nerve.  Then, I fold over the elastic so I only see the final fabric, and straight stitch the bottom edge of the elastic.
  4. Overlap the two front pieces- With RS facing you, make sure the front top is on top, and the front bottom is behind it.  Make sure the overlap is what you desire and pin.  Stay stitch within the seam allowances (so ~1/8" from the edge) to secure the overlap.
  5. Step 3 to 9 are the same as the original pattern.
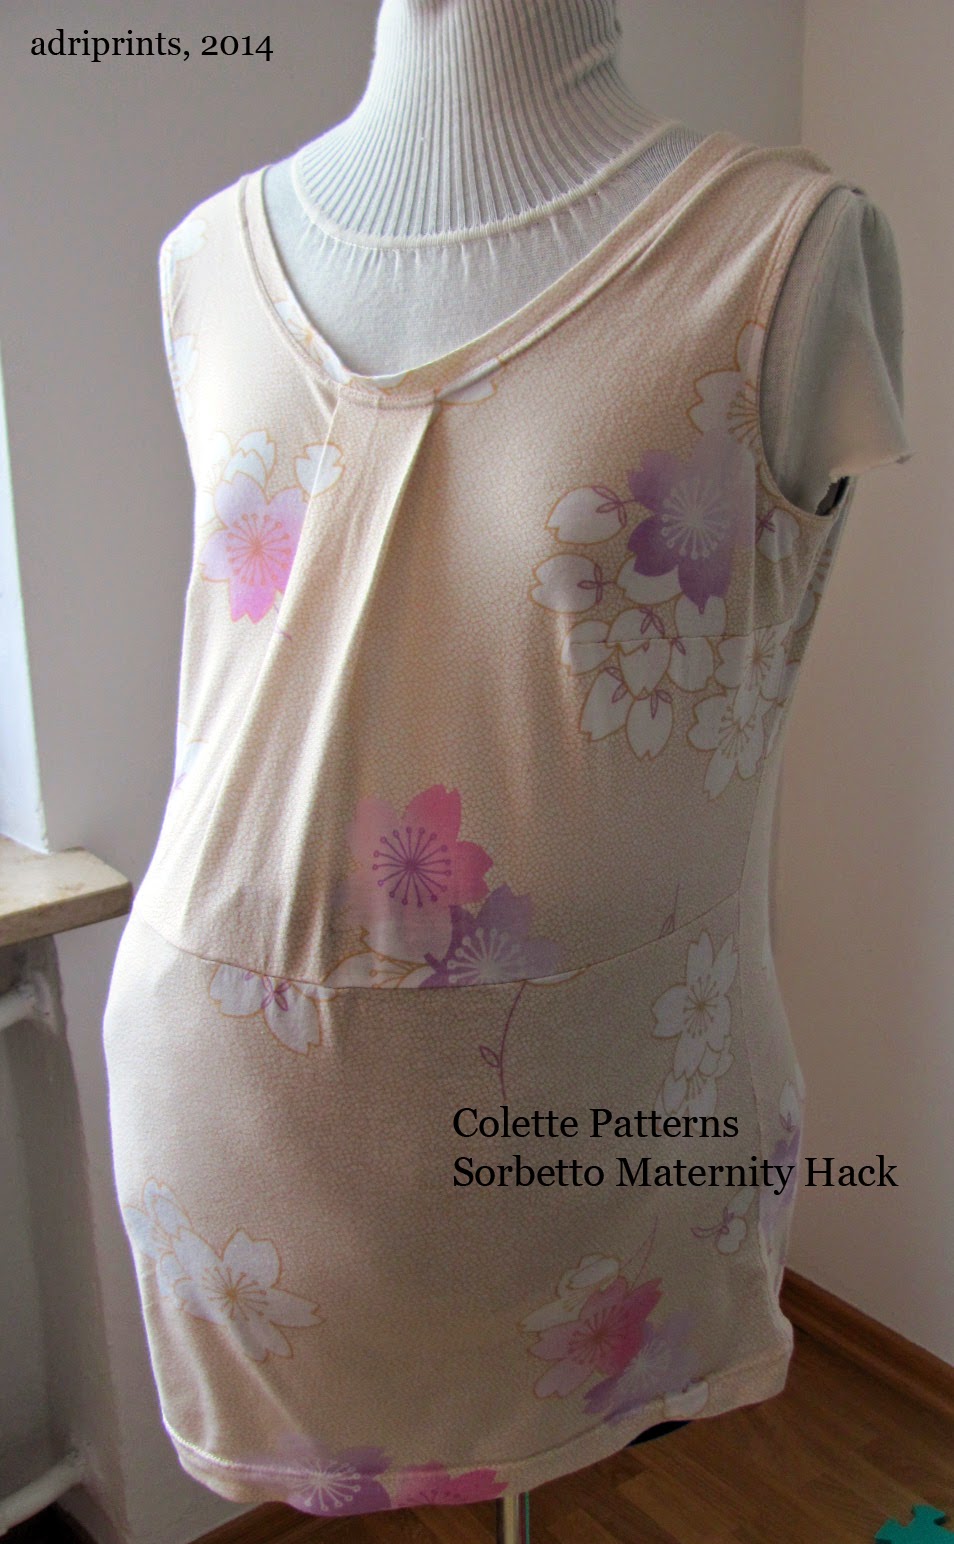
And there you have it!  You've made a maternity/breastfeeding t-shirt!  Feel free to change the neckline and make it a scoop neck like in the inspiration photo.  I like crew necks so I kept the pattern as is.  But, I think I'm going to try and make a tank or sleeveless v-neck.  We shall see!

Wednesday, May 7, 2014

Week 1 Round-up, MMM14

Here's the weekly round up of me-mades worn this past week!


If you'd like to make any of the above items that have a pattern, here are the links:
May 1- Mitered Detail Cardigan can be found here on Ravelry.
May 2- Mod Podge can be found here on Twist Collective's site or here on Ravelry.
May 3- Colette Pattern's Sorbetto can be found here and my modifications can be found here.
May 4- Iris Pullover from Schnittchen can be found here.
May 5- Blank Canvas Tee can be found here and my modifications here.

Monday, May 5, 2014

Colette Sorbetto: Maternity Hack

During Me-Made-May 2014 I'd like to share some of the me-mades I've made recently.  For week #1 of MMM14, I've been wearing this particular garment almost daily ((or rather, nightly))!  It's a maternity pajama based on Colette's free pattern, Sorbetto...


During this pregnancy, I've inherited so many things from friends.  One of my favorite items was a Sorbetto top I helped a friend make for her first pregnancy.  I took her measurements and devised a way to use the pattern to make her a top.  We learned that by leaving the bottom part of the pleat open, you get a lot of room for a belly.  We also added 5" of length at the waist for extra coverage.


One of the drawbacks of the first prototype, though, was that it was made out of plain cotton and so it did not allow for freedom of movement or stretch should you want to sleep in it.

So, when it was my turn, I thought about improvements that could be made to last year's prototype.  Firstly, I made the decision to try a single knit jersey.  I had a big chunk of single jersey fabric from my attempt at this "wrap dress pattern" from Burda... There was no way that dress was going to work for me, and so I was happy to chop it up for this Sorbetto Maternity PJ top.

Yes, that's my dressform with a bag of fabric scraps stuffed into a belly band
to simulate my enormous pregnant belly.  It's a little lumpy, but you get where I'm going.
I had to patch 2 pieces together for the front piece since I didn't have any pieces wide enough to trace the pleat at the front.  I once again added the 5" at the waist, and I only sewed the top 5" of the pleat down the front.

Secondly, all the edges were finished with self-fabric so they're stretchy.  This was done by cutting 1.5" strips and folding them in half, then using the serger to attach them to the edges before the shoulder and side seams were sewn.


So, if you're attempting this at home... 

Colette Patterns Sorbetto is your base pattern.
Drafting: Add 5" length to the waist of front and back piece (or more if desired).
Cut 4 strips of 1.25" self fabric or knit rib with max stretch going with the long edge: 1x strip @ 2" longer than the front neck circumference,  1x strip @ 2" longer than back neck, 2x @ 2" longer than the total armhole circumference.
  1. Make bust darts as written
  2. Sew only top 5" of pleat, stay stitch pleat at neck edge
  3. Attach edging to front and back neck edges (fold edging strip in half, 3 raw edges together, serge)
  4. Sew shoulders
  5. Attach edging to armholes
  6. Sew side seams
  7. Turn up hem, press
  8. Twin needle finish for neck edge and hem, single needle top stitch for armholes 

And that's pretty much it!  You can stabilize the shoulders if you want, but mine is a pajama so I don't really care, and it hasn't rippled even after washing.  The front neck edge could be tighter if I had used ribbed knit fabric.  And, that's it for now!