Showing posts with label thanksgiving. Show all posts

Monday, November 20, 2017

Gingerbread here, there, and everywhere!


Ahhh!
The holiday baking has taken over!


It's the most delicious time of the year again. It's mid-November, my house smells like gingerbread, pumpkin pie, and... curry chicken. Yes, we love our spices in this house. There are winter-themed paintings on my desk, scraps of red and green fabric all over the place, snowflake stamps, and the oven is working overtime.

I wanted to check in before the holiday madness completely takes over and I forget to blog about the latest happening in the studio...

Sewing, Crafts, & Family World

My son is obsessed with gingerbread stories... so much so that he wanted to be 'Gingerbread Baby' for Storybook Dress-up Day at his school. So, I made him a gingerbread man costume!

I've been painting ornaments and testing designs, but don't know how many I can complete by December so I can sell them. I also have greeting cards coming in the mail any day now.

Art & Design World

My web shop is finally open!


My paintings are on exhibit at the local library!


Announcements

My gingerbread dudes are in a Spoonflower competition. Vote for it HERE if you like the pattern. You've got until November 28th to vote.

And, this will be the last full post on this blog here on the blogger site. So if you'd like to continue to follow my blog, it's on my website HERE.

Or if you use Bloglovin' to keep track of your blogs, you can add the new one here:

Follow

Thanks so much for reading! Have a Happy Thanksgiving!!

Thursday, March 24, 2016

Cornbread Recipe


I've got another fun illustration for you all!  This one is a really nice cornbread recipe I made last Thanksgiving.  I was pleased with the results and will be making it again. Next time, for added texture, I might add canned or fresh cooked corn to it for a bit more added texture and cut a bit of the liquid.

Either way process was interesting for this one.  I started back in November with a little sketch I did by the recipe itself... and finally got the time to finish it!

Enjoy!

Monday, March 18, 2013

My First Knitting Machine

Thank you super-much, Victor.


A friend of mine was generous enough to give me his knitting machine.  Yes, he gave it to me!  So generous!!

Turns out he never got the chance to run it.  The machine's history is somewhat blurry, as it was given as a gift, and handed over from one person to the next until it landed in my studio.  My hands still hurt from carrying the heavy case, but in my excitement, I didn't feel it.  The only hitch- Empisal Knitmaster 324 came without a manual.

I found lots of great resources that probably didn't exist a few years back, and I found the manual for the 326 which is very similar.  It's adorable!  It's really easy to put together, and it's incredibly dusty.  I'll have to take it apart and clean it, then put it back together.  But, before I invested time into doing that, I couldn't help myself.  I knit a swatch.

Here it is.  My first knitting machine swatch.


So excited!  Do any of you have knitting machines?  Do you have any tips on how to clean it?

Thursday, November 5, 2009

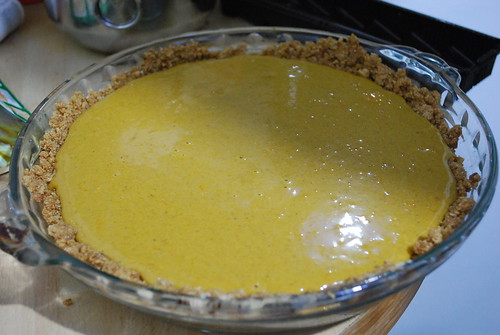
How To Make a Rustic (Country-style) Pumpkin Pie

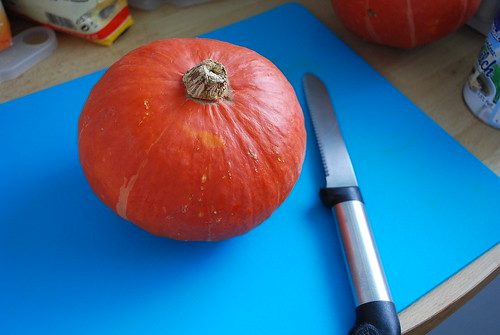
Well, let me begin with the fact that I now live in Munich, and sugar pumpkins aren't really on the market. So, the ideal would be a sugar pumpkin or a pie pumpkin, but what we have here isn't really that far off the mark... a Hokkaido pumpkin! Yay!

Ingredients for this not-too-sweet pie base:
2.5 cups of pumpkin (pre-baked and chunky-style)
1 can of evaporated milk or 1.5 cups of cream*
1/2 cup sugar
1/4 cup honey
1.5 tsp cinnamon
1 tsp ground cloves
1 tsp ground allspice
1/2 tsp powdered ginger
1/2 tsp vanilla sugar (optional)
1/4 tsp nutmeg
1 pinch of salt
3 eggs (4 eggs for a custardy fluffy finish)

*can also be substituted for Coconut Milk for a lighter taste (not sweetened coconut cream unless you want an extremely sweet pie).

1 9" pie plate and pie crust ready to go...

Really the recipe is quite flexible... so here's how to do the first part... the pumpkin prep


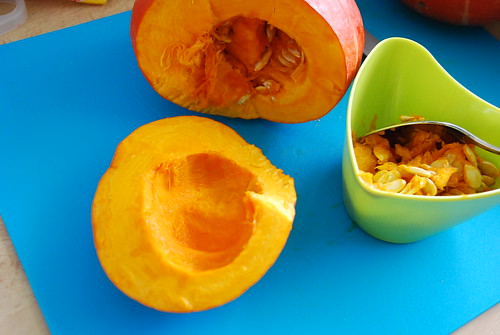
Wash pumpkin exterior. With a serrated blade, quarter the pumpkin and scoop out the seeds.


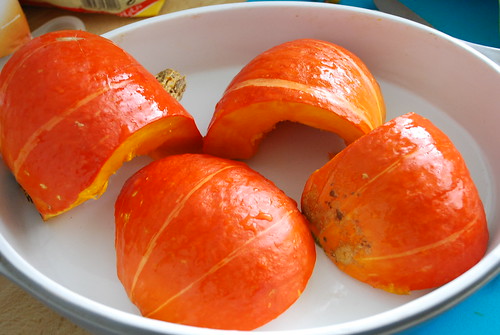
Place the hollowed pieces face down onto baking dish or cookie sheet lightly oiled and aluminum-lined.


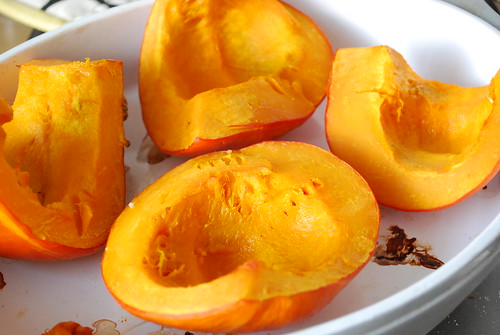
Bake at 170 degrees Celsius for 45 minutes or until tender (fork can easily pierce the fleshy innards, some pumpkins cook faster than others, so check halfway through).


Scoop out pumpkin goodness (avoid scooping skin). Each Hokkaido pumpkin yields a different amount, but it should be around 2 to 3 cups of pumpkin. Let this cool a bit and then mash it. For a more country-style pie, leave the pumpkin mash a bit chunky.

Assemble your dry ingredients, and pre-heat your oven to 230 degrees Celsius. In a bowl with your pumpkin mash inside, add in the milk and honey. Then, add the dry ingredients (sugar and spices) and lastly, the eggs. Make sure they are well combined.

Have your pie plate ready with it's crust already in it... then pour the mixture in.


Bake at 230 degrees C for 10 minutes and then lower the temperature to 180 and bake for another 40 to 50 minutes.


My oven has a nice air-flow so it actually only takes about 35 minutes. Check to make sure it's ready by sticking a clean knife in it and if it comes out clean, it's most likely ready. Let it cool and set.

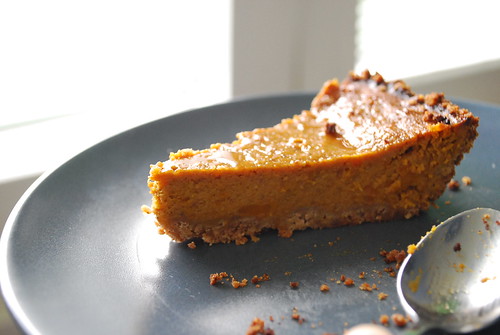
We ate the pie before I remembered to take a photo. :P

Update: Here's a photo of a slice made with coconut milk and a graham cracker crust after it set.