Showing posts with label crochet. Show all posts

Wednesday, October 8, 2014

Want to know more about Stitchin Knit and Stitchin Crochet?

(Image from the Underground Crafter site)
I was interviewed last month for a Hispanic Heritage Month by Marie Segares, the crochet & knitting blogger and designer.  She blogs at the Underground Crafter and is also the host of the podcast the "Creative Yarn Entrepreneur Show".  If you'd like to read her interview of me for her Hispanic Heritage series that happened in September, you can read it here (http://undergroundcrafter.com/blog/2014/09/18/interview-with-adriana-hernandez-hispanic-heritage-month-series/)

And, for the podcast, she asked me some great questions about how I got into the business of making fonts for knit and crochet. So, if you're interested in listening to the podcast interview you can find it here (http://creativeyarnentrepreneur.com/episode-8-affordable-crochet-and-knitting-fonts-with-adriana-hernandez/) or below.

Thanks for asking me to participate, Marie!


And, if you'd like to see the fonts, you can find them here.

Thursday, February 6, 2014

FO: Twinsies Baby Blankets


I finally finished my first big machine knitting project/commission!  The blanket was machine knit in strips, sewn together, and finished by using simple crochet borders.  The green blanket used a single-crochet border followed by a triple-crochet plus single chain stitch to create the dashed-dot look.  The pink/purple blanket used a series of increasing crochet stitches to get a subtle scalloped look.  Both were then steam pressed from the opposite side with a damp press cloth to stop them from curling... but they still kind of curl.


Both blankets are done!  I've already packed them and prepped them for shipping. :)

blocking

close-up
It's the first time I've done a dedication/title block/ blanket info square.  Hopefully the end-user will know not to shove these in the drier.  These are 75% superwash wool 25% nylon, but even then, I'd still avoid the drier.

dedication square
 Yay! Now, I can focus on knitting stuff for my baby!

Previous posts about these blankets:
Boy Twin Blanket Complete
The Concept

Wednesday, April 10, 2013

StitchinCrochet PRO!


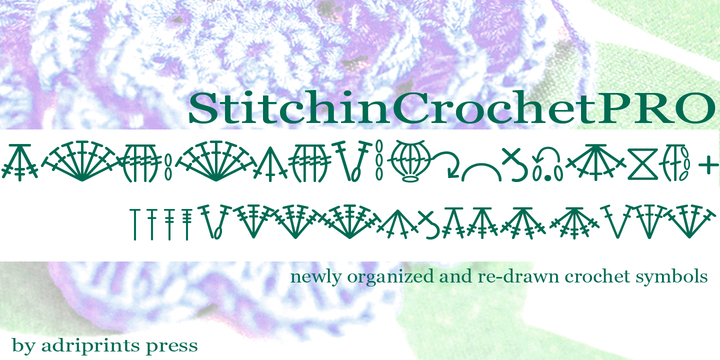
Finally, another loose end tied up. This particular loose end has been around for 3 or 4 years.  I've been collecting e-mails, handy symbols that I missed, and re-organizing this font for a looooong time.  It's done now.  I've simplified the organization of the glyphs so they are grouped together by type: dc increases together, dc decreases together.  I tried to be sure there were corresponding increase and decrease symbols where it was relevant, and I eliminated some of the more fanciful and esoteric symbols that are not used commonly.

And, the result is StitchinCrochetPro now available on myfonts.com!


For more details on what glyphs/symbols are included in this version, check out the "gallery" section of the font here.  It includes the keyboard key and symbol abbreviations guide as a pdf.
Let me know what you think if you get a chance to try it!

Tuesday, October 9, 2012

Tutorial: Blocking Your Knitted/Crocheted Items

"Blocking" in the fiber arts world, is usually a finishing step. After your garment (or each piece) is knitted or crocheted, block to match the measurements given in your schematics, or you can seam them together and block them as a completed garment.

before blocking
blocked blanket

The first step I take in this process is looking at the yarn band.  I make sure I understand the care instructions for the yarn I'm about to block.  Then, I look at the pattern for any specific blocking instructions (lacy shawls often have areas that are accented in blocking).  If you're worried about your yarn and want to avoid washing the garment, you can spray/mist it with water and proceed with blocking.

The blanket shown above was made by a friend of mine, and she used a washable yarn.  So, I went ahead and soaked before blocking.  Usually it's a 20 minute soak (often longer because I forget about it).  This lets the fibers relax into its new form.  Then, I squeeze out the excess water.  If I'm using strong yarn that can tolerate it, I'd place the gently wrung-out project in a lingerie bag and set it to the lowest spin cycle on my machine with a towel or other things that need wringing out.  If the particular yarn is too fragile for the spin cycle, I use a fluffy towel and lay the piece as flat as possible on the towel, and roll it up.  This makes a towel-garment sandwich "burrito".  I then squish the towel to remove even more excess moisture.  Once you've removed as much water as you can, bring out your blocking surface.

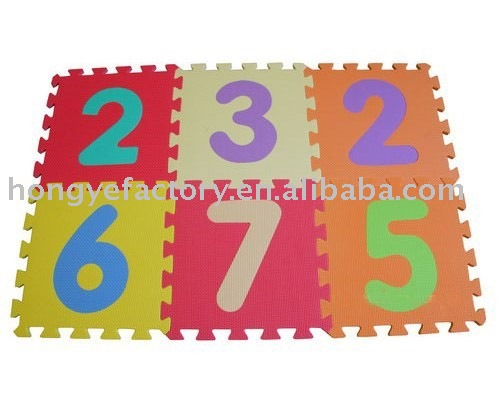
A friend and I went "halfers" on some kid's foam puzzle mat like this, so that's what I use.  Basically you need a stable surface that can take and hold pins in place.  Some folks use a mattress, others just towels.  I place a dry towel on the foam squares and place the item atop the towel.

Next, I assess the best plan of action.  Should I use the stiff wires?  Just T-pins? Flexible wires?  A combo?  The blanket project above was an easy choice - stiff wires for sharp crisp edges...

I take a blocking wire and kind of "sew" it through the edge of the blanket taking evenly spaced chunks and trying not to splice any yarn with the wires.  Sand down the ends of your blocking wire if you continuously get snags.

For hard edges like in this blanket, I used T-pins to secure the intersection between wires.  This makes a nice crisp corner too.

curved edges = flexible blocking wires
For something round like this curved earflap, I use flexible blocking wires and T-pins (Squishy Chullo Hat).


before blocking the "Percy Shawl"
after blocking the "Percy Shawl"
And with this scalloped shawl, you can see the drastic difference before it was blocked and after...  I used a combination of techniques with this one (T-pins and thread).  If I had had blocking wires back then I would have used the stiff ones for the top edge to get a straighter line.  Instead, I used what I had - thread running through the top edge and T-pins to stabilize the thread.  Then, I used a boatload of T-pins for the scallops.

I hope this tutorial gives you a general idea of the many options you have for blocking your hand-made goods.  These techniques can also be used for pre-manufactured wooly goods, too!

There are tons more resources out there and here are a few to help you out whichever way you choose to block your project...

Blocking Resources:
blocking lace on KnittingDaily
using blocking wires from Knit Picks
using flexible blocking wires on Knitter's Review
blocking with pins on the purlbee
making your own wires: DIY blocking wires
blocking without wires on CrochetMe

Wednesday, June 6, 2012

Updates: Knit & Garden

Photo update...
My SnB de Pijp Group made this wonderful hexi-puff seat cushion (or could-be future quilt) as a parting gift.  Thank you SnB de Pijp!!


The garden had it's first blooms and first losses.  I used the wrong kind of soil for the anemones which succumbed to rot. :(  But, the Oxalis are going strong as ever!


Sunday, April 29, 2012

Quick Pick, Quick Pic

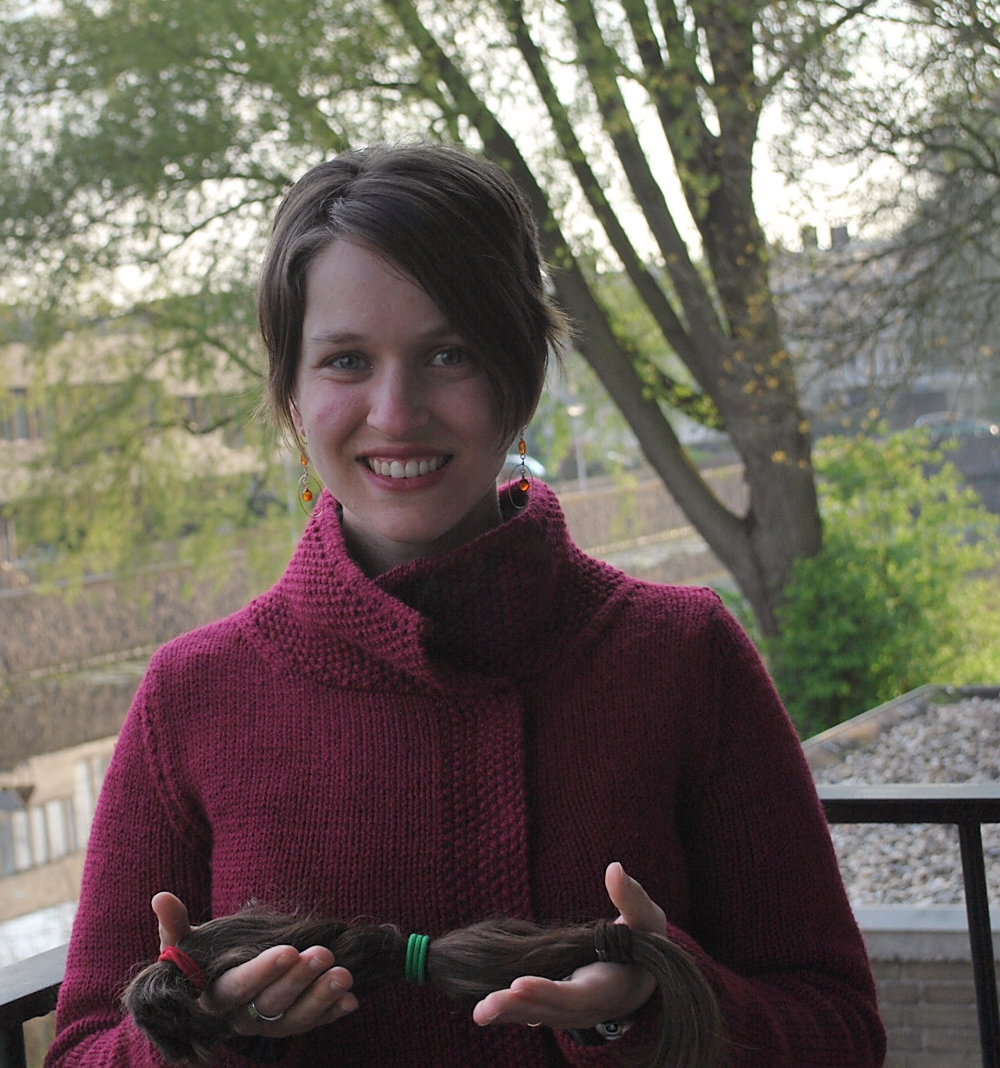
Quick photo of my recent hair donation and my new haircut.  Since I grew out my hair in memory of my grandmothers, I wanted my hair to go to adult women with cancer-related hair loss.  I started growing out my hair when my Abuelita died in October of 2010.  I'm so happy I could do something in her name that will benefit others.

Me + my hair ready to donate
I'll be sending along my chunk-o-hair to Beautiful Lengths which makes free wigs for women with cancer. 

And, both my grandmothers were the ones that inspired me to sew, crochet, and craft,  so without further ado, let's spread the love of all things crafts!

The winner of the crochet book was comment #7 from AA.  AA, if you're reading this blog entry, contact me with your mailing address at adriprints (at) yahoo (dot) com!  Congratulations, AA, and thank you to all who entered!


Monday, April 23, 2012

Giveaway: Crochet Book

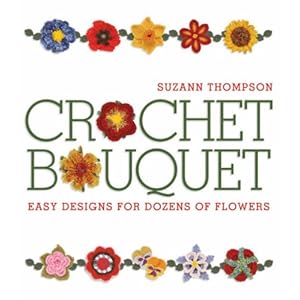
This week, I will give away Crochet Bouquet by Suzann Thompson.  Click on the image to see the book on Amazon.com.


This giveaway is open to anyone with a valid mailing address ready to receive a book!  In order to win, follow these 3 steps any time between now and April 27, 2012...


1 - sign up to follow the blog (ignore if you already follow it).

2 - leave a comment answering the following question: How did you start crocheting?

3 - Be sure to include your e-mail address in the comment so I can contact you if you win.

That's it!  Good luck, and thank you for reading!

Thursday, July 21, 2011

I won a giveaway!

Hard to believe it, but I actually won one of those great Friday giveaways from Juniper Moon Farm's Blog.  Super exciting times I tell you.

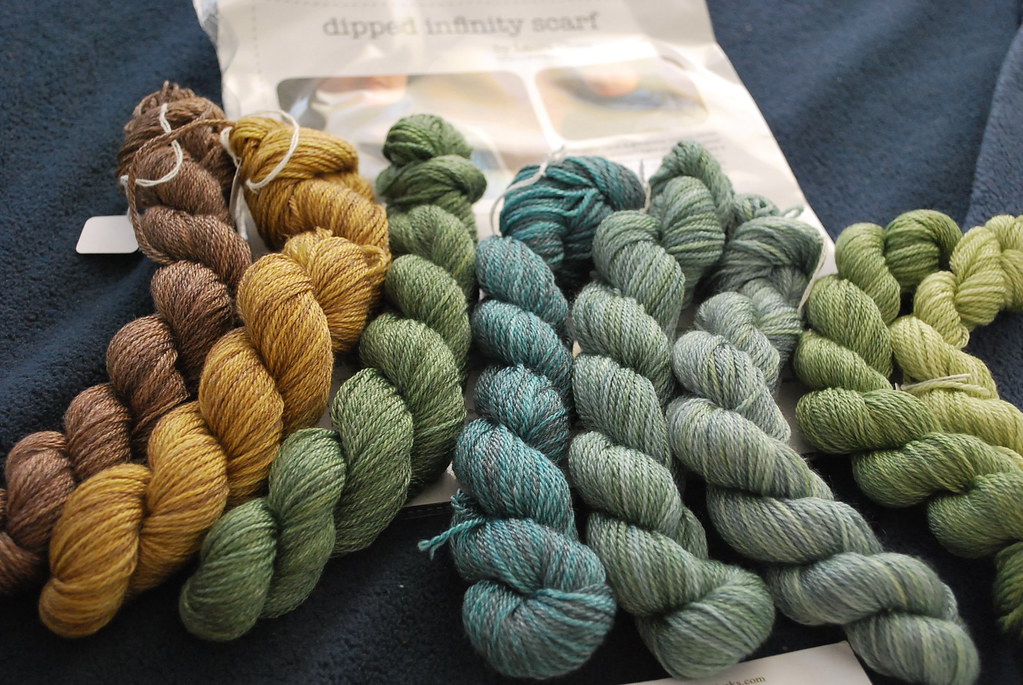
I won a Dipped Infinity Scarf Kit (design by Laura Chau) sponsored by Dirty Water Dyeworks!  Yay! The kit included a bunch of mini-skeins of Julia, a really squishy and easy-to-knit blend of  Superwash Merino and Tencel.  I'm knitting this project as my "in-between" project.  I've got a few designs due by the end of the month and my fingers are workin' workin'.
Look out for the upcoming Twist Collective Issue... tee hee.

The pretty yarn:

Monday, November 15, 2010

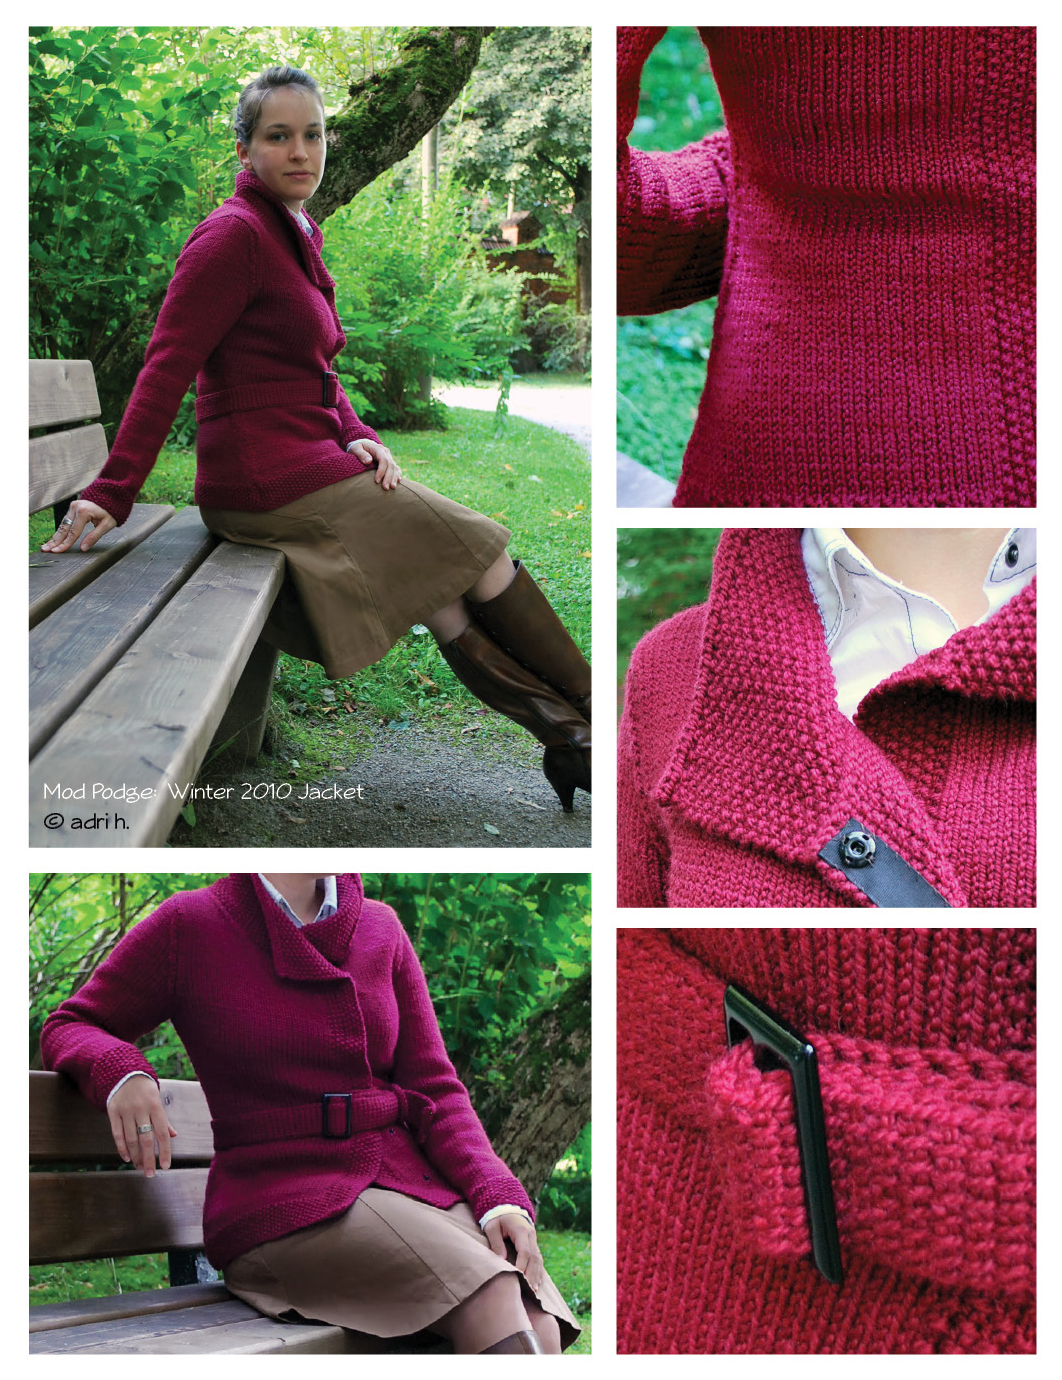
Pattern: Mod Podge Jacket

Just wanted to introduce my latest published design...
Mod Podge Winter Jacket!


If you'd like to buy the pattern and knit it yourself, Twist Collective has published it in it's Winter 2010 edition here or you can buy it directly from Craftsy here. Enjoy!

Tutorials on how to make the belt accessory can be found here and here.


Saturday, November 13, 2010

Sneak Preview: Twist Collective Winter 2010

Here is a tiny eensie weensy teenie weeny little tantalizing hint of the upcoming pattern to be published in Twist Collective's Winter 2010 issue...

Hint:
It's accessorized...

(c) adriprints 2010


Only two more days until publication!!  Check it out in Twist Collective's Winter 2010 edition here or on Ravelry here.
Happy knitting!

Tuesday, October 26, 2010

Video Tutorial: Tunisian Simple Stitch


Below you can find a video tutorial to accompany the written and illustrated versions of the Tunisian Simple Stitch tutorial in a previous blog post.


Tuesday, October 19, 2010

StitchinCrochet: In Action!

I was so excited to receive a message from someone using one of my fonts in their work!  I'm so glad they found it helpful.  Fadima78 on Ravelry sent me a link to her lovely crochet scarf pattern called "Fan Pattern Scarf".  In it, the chart uses StitchinCrochet in combination with Inkscape!
copyright Fadima78
Thanks for sharing your work!  If you'd like to purchase StitchinCrochet for yourself, you can find it here!

Wednesday, October 13, 2010

Tunisian Simple Stitch

To celebrate the upcoming pattern that will be published in Twist Collective, I've conjured up a tutorial on the Tunisian Simple Stitch (sometimes known as an Afghan Stitch among other names I've encountered).  It really is a very simple stitch that uses a regular crochet hook as long as you don't require a very wide simple stitch.  The pattern that is in the works uses the simple stitch to make a belt accessory.  I've also used it to make a strap for a crochet bag, and it's very effective because it is a stable stitch and has a nice woven texture...

Here is what the finished stitch looks like:


Illustrated tutorial begins here:

1. To begin the Tunisian Simple Stitch, you make a single crochet chain with the desired number of stitches (plus one extra).  Maintain this number of stitches throughout.  This kind of crochet is worked only on one side so it's not necessary to turn the work.
2. Insert hook one stitch away from hook in the back of the stitch.  Pull up a loop and keep it on the hook.  Insert hook into the back of the next stitch and pull up a loop keeping it on the hook.  Continue until you've pulled up a loop for every stitch in your chain counting to make sure you've the goal number of stitches on the hook.

3. Next, YO, pull through one loop.  YO again, but this time, pull through 2 loops. Repeat YO and pulling through 2 loops until 1 remains on the hook.  This remains on the hook and becomes the first loop on your hook for the next step.

4. Insert hook behind the vertical bar of the next stitch and pull up a loop keeping it on the hook.  Insert hook behind the vertical bar of the next stitch and pull up a loop keeping it on the hook.  Continue until you've pulled up a loop for every stitch in your chain counting to make sure you have maintained the goal number of stitches on the hook.


5.  Steps 3 and 4 are repeated until desired length is reached.  BO with crochet bind-off.

In a few days, I'll get the video tutorial up and running... Look for it in an upcoming post!


All of the images and illustrations in this tutorial are Copyright 2010, Adriprints Press.  Please do not use them without express written permission of the author and illustrator.  Thank you.