Saturday, March 31, 2012

Spring Knitting: Bunny Egg

The Bunny Egg
 The SnB de Pijp group was invited to go to a knitting event at Selexyz in order to promote the new book by Arne & Carlos.  As part of the event we were to knit from their latest book that featured Easter-themed things like eggs and rabbits.  So, I combined the two into one.  If you'd like to make your own bunny egg, the egg is the generic pattern from the book, and I added ears and a pompom tail.  The ears are a 4 stitch i-cord that increases to a 6 stitch i-cord and then they're sewn on.

Anna's fire rabbit (R).  Wendy working the knitting fork (L).

Yarn stormed bike racks at Westergasfabriek, Amsterdam.

Thursday, March 22, 2012

Pretty Pretty Prince Charming

I ordered some goodies when my dear was in the U.S. so that we could cut the cost of shipping for our families.  He brought them back and it was so much fun unwrapping all the items!  My favorite is the fabric bundle from Free Spirit designer Tula Pink, a line of fabric called "Prince Charming" that includes some really beautiful illustrations and pattern repeats.

Check 'em out!

fat quarter bundle, marking tools, and new seam ripper!

such beautiful pattern design!!

And in Starlet Suit Jacket news, I've practically finished the body!  I just need to attach the sleeves.  For today's post, I wanted to feature some of the hand-tailoring from the course.  I decided to go with hand-tailoring for the collar and was pleased with the results.  My collar stands up all on it's own after the pad-stitching with just thread and hair canvas, and that was even before steaming it!

pattern pieces in wool and in hair canvas
collar before steaming

there's pad-stitching!

little hammie wearing my collar
Happy Crafting!

Monday, March 19, 2012

Brown Quilt Update


So far so good!  I've pieced all the strips into four groups (3x3 rows of blocks, 1 x 4 rows).  Now I have to get onto making a backing!  I have some ideas for what I want to do for the back, but I'm looking for advice.  Should I keep the backing simple in order to avoid some of the crazy alignment mishaps that happened with my baby quilt?  The whole quilt came out sort of wonky.  Or should I attempt some kind of strip quilt as the back?  I just don't know...


I intend to put the four groups of pieces together after they've been quilted and then sash the top, sides and bottom.  Or... maybe I just need to do some more research. Ah well.  At least I've progressed one step further!


Here's my free-motion quilting test block in the meantime...  I used a Janome free motion quilting foot on my Pfaff machine.  I was so happy it worked.  I used slighty variegated King Tut thread and barely had to adjust my tension.

front side
back side
Some resources on free motion quilting and just basics that I've found helpful as a newbie quilter...
On YouTube you watch these free
Collected Quilting Tricks

And if you're already on Craftsy...
Machine Quilting (chapter 6) 
Quilting Big Projects on a Small Machine

If you have resources on tackling this quilt that you think I'd find helpful, please share!

Friday, March 16, 2012

Swayback Girl Clovers

I'm still waiting for my interfacing to come in the mail to complete my Starlet Suit Jacket... so in the meantime...

As one of the many Sew Weekly Contributors participating in Sew Weekly's "green challenge" week, I sewed a pair of Clover trousers.  I couldn't resist - the name and the challenge were too good together.

Front pocket detail + daffodils!
  • Fabric: 1.5m stretch brown denim (dyed to dark olive) purchased at Stoffen Spektakel in Amsterdam.  I used scrap cotton for the pockets.
  • Pattern: Colette Clover + self-drafted swayback triangle pattern pieces
  • Year: 2011 ⁃ Notions: invisible zipper
  • Time to complete: 2 days ⁃ First worn: Wednesday
  • Wear again? yes! I love them, although the self-drafted pieces together with the darts is a little funky, I love the way these trousers fit. No gaping at the bum.  No unintentional granny-panty flashing.
  • Total price:~23 EUR
  • Price breakdown: 3m @ 7EUR/m = 21 EUR, but I only used 1.5 m for the pants. It's pretty wide fabric. So, I have enough to make another pair! It's likely I'll make a different variation with more jeans-like qualities such as pockets with depth. Dylon dye in olive green was 8.70 EUR, and the zipper I had on hand from ages ago, but it was maybe 2 or 3 EUR.
 
Modifications to Clover pattern from Colette: Extended legs to full inseam length. I used a flat-felled seam throughout. And, by the way, can I tell you that flat felled seams are awesome, but really hard to do on your outer pant leg seams? It took a lot of scrunching and patience to finish them. I also drafted this triangle piece to help with swayback gaping which happens to me all the time. I am a swayback girl. I tried the trousers on after basting the legs together quickly just to test the fit and the waistline. I noticed I was getting the usual "low-rise back" effect and took action! I quickly drafted two triangular pieces in order to raise the back waistline to make sure I wasn't exhibiting my undies on a regular basis when wearing these.

the two triangle pieces
I did an adjusted dart as well. Instead of making the darts perfectly triangular, I extended them straight down and then tapered thanks to a tip from another swayback girl who recently addressed the issue on her blog. Here's the short version:
dart comparison, adriprints 2012

Pattern Crit: I was so happy that my first wearable muslin of Colette's Clover trousers is actually wearable. I made the zipper on the left instead of the right. I think it could use a hook/eye closure to help ease the zipper up. The invisible zipper installation proved to be a challenge, but with my Simplicity Sewing book + the Colette online tutorial + this invisible zipper tutorial from see kate sew, I was finally able to manage it and I only messed up one leg of the zipper just once! Plus, my fabric was really wide, so the pressure was off and there's enough leftover fabric to make another pair, which I definitely will! Also, I'm proud of my funky triangle pattern pieces.

my lady lumps

detail of triangle gusset
 About the dye... I used Dylon Fabric Dye (40C for the washing machine) color #34 Olive Green. My original fabric was a medium brown and with the olive green, they turned out a very deep olive. The dye worked really well and did not leach into the machine or on other items I washed with it right after dying (just to see). I followed the instructions and I'm really happy with the resulting dark green.

the dyed fabric w/ original next to it
 Check out the original post here on Sew Weekly!

Tuesday, March 6, 2012

Block of the Month: March

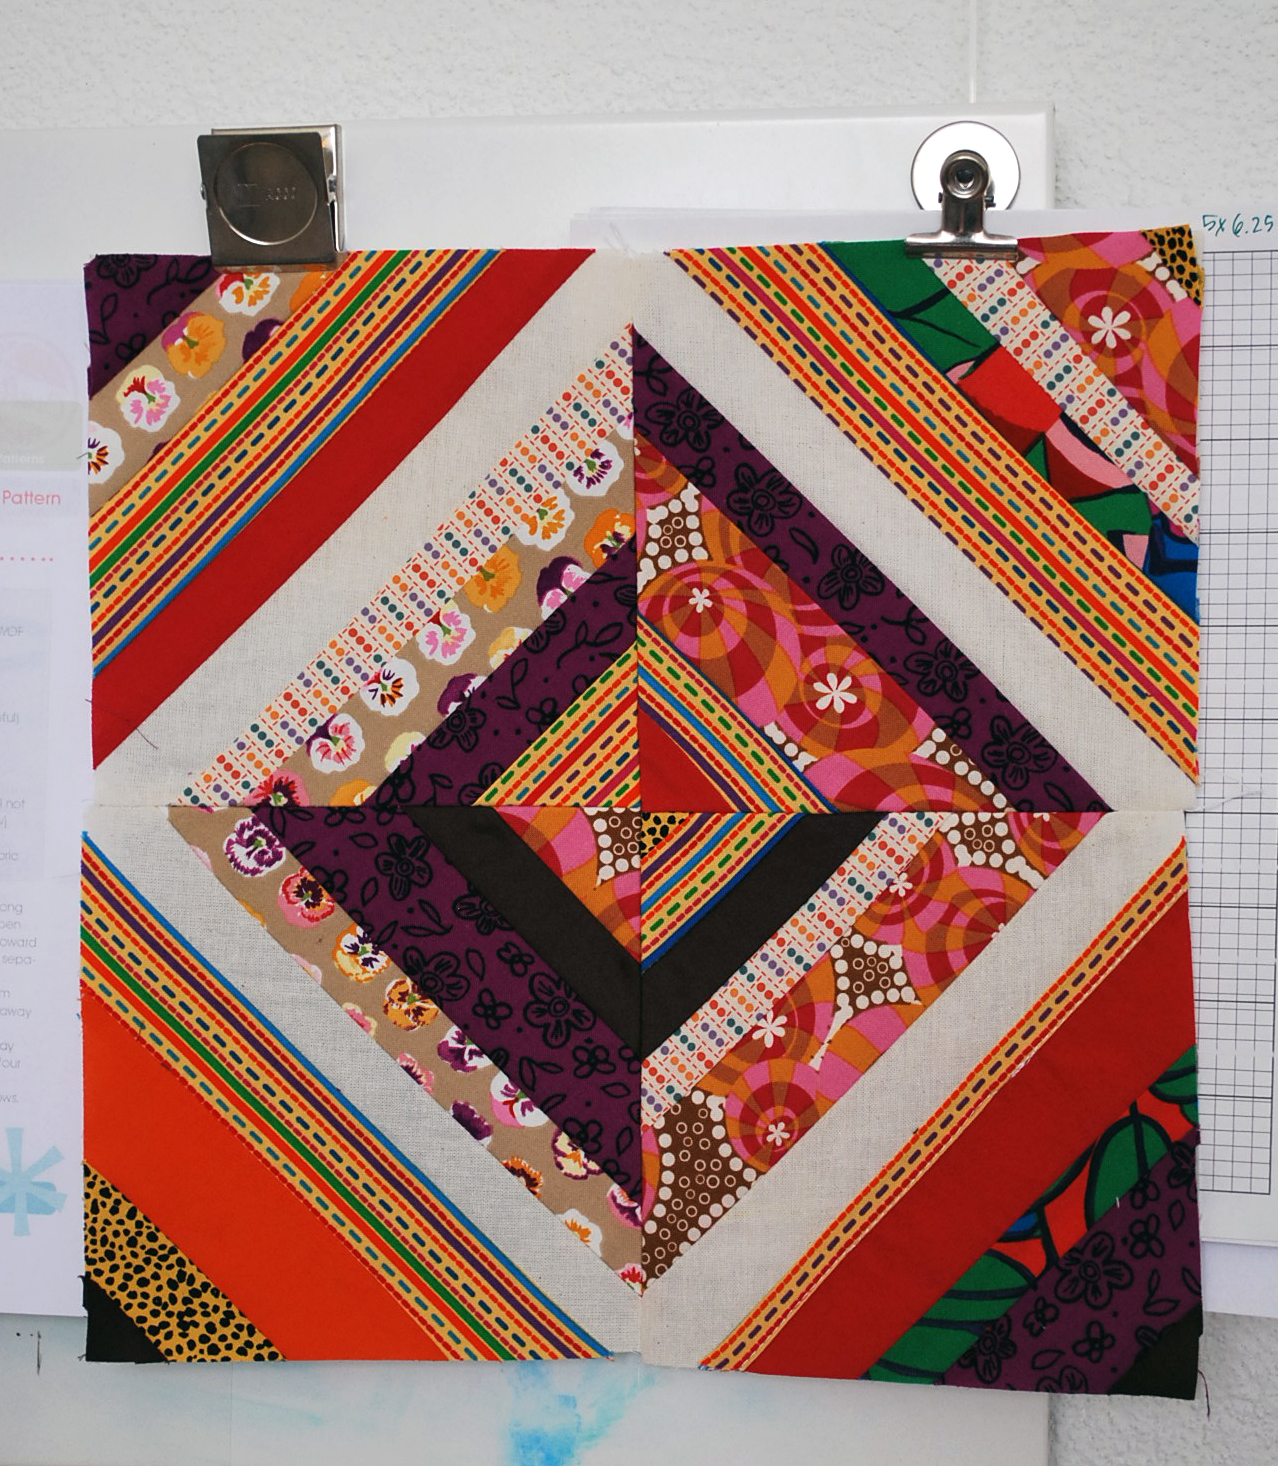
This month's quilting blocks from Amy Gibson's Craftsy course were even more fun to make than last month's blocks! I had never done this kind of foundation piecework and was really eager to try them out using scraps from my stash.  These are the perfect blocks to get rid of lots of thin scraps.  So, I pulled out my many zip-lock bags and out came the colorways...

The principle behind foundation piecing is that you have a shape that you cover with scraps.  The string block is named so for the strips of fabric used.  In the past, strips of fabric were referred to as string according to the course.  Interesting!

Here is my string block using warm tones:

March's String Block: warm colors
I thoroughly enjoyed going through my scraps and using them in a way that I know I'll enjoy for a long time.  Yay for OCD!  It makes it worth the ridiculousness of cutting scraps into strips and organizing them by color in little plastic baggies. (tee hee)

The second block is named broken spiderweb because when you make four of them and put them together the center of the four blocks resembles a spider's web.   But, at first I didn't know why and all I saw was a four pointed star... like a compass.  I really loved the way this one turned out, too.

March's Broken Spider Web Block: cool colors
The way this one was made used the foundation triangle to keep track of the shape, then after the strip ends are cut away, the triangle itself is cut away to the seam allowance.  This one is definitely less bulky than the traditional foundation pieced string block, but I liked both methods.   Each has their advantage.  Here they are together...

Block of the Month: March
Do you have a favorite quilting method?  Are you participating in Craftsy's free Block of the Month course?  If so, how are you liking it?