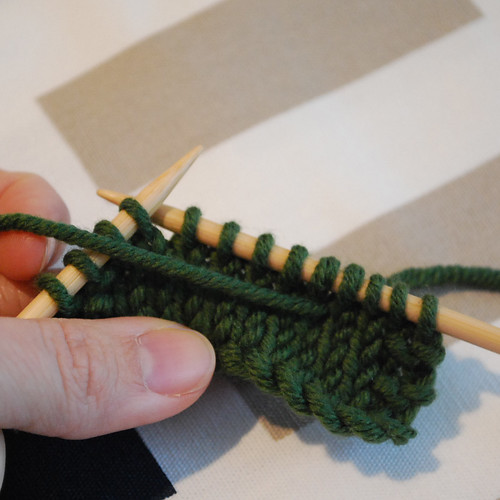
Notes: All slipped stitches (as in rows 1,3, and 5) should be on the right side of garment, final stitch (row 6) is worked from wrong side if knitting flat and includes the bead for the center of the beaded butterfly stitch...
Rows 1, 3, and 5: Knit to start of butterfly stitch. With yarn in front, slip 5 stitches purl-wise and return yarn to back and knit however many stitches to your next butterfly stitch. Repeat to end of row...turn work. Rows 2 and 4: Purl, keeping stitches a little looser where the slipped stitches are located.
Row 6: Working on the back side, Purl to center stitch of slipped stitches (stitch 3 of 5).
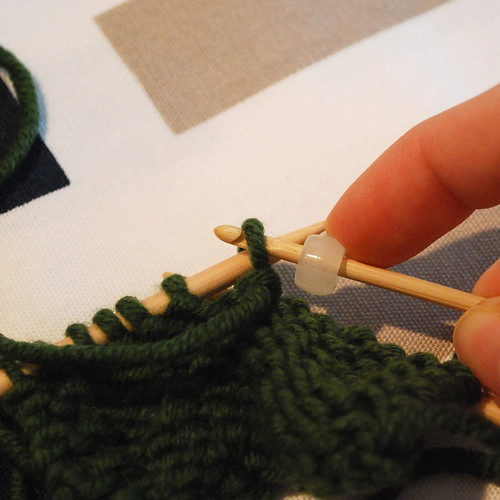
Place the last worked purl stitch back on the non-working needle and use a crochet hook to slide a bead onto the stitch.
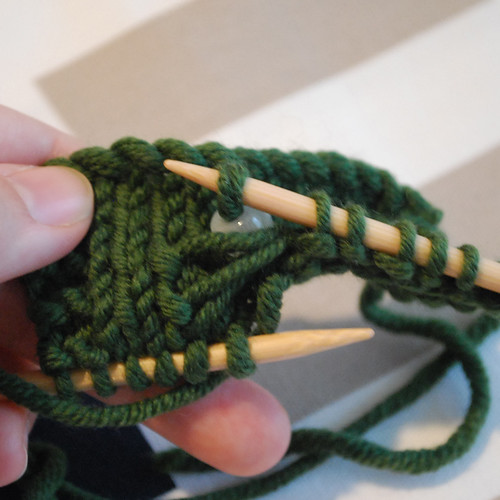
Take the right needle and from bottom to top, scoop up all three rows of slipped yarn from the RS of garment.
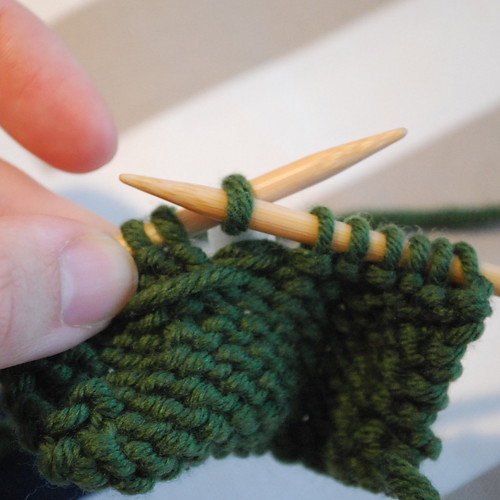
Pass the last worked purl stitch (the one with the bead) to the working needle, and guide it underneath all three rows of slipped stitches whilst keeping things loose.
Place this purl stitch back on the non-working (left for me) needle and purl it again to secure the butterfly stitch. Continue in pattern...
There you go!


No comments:
Post a Comment