
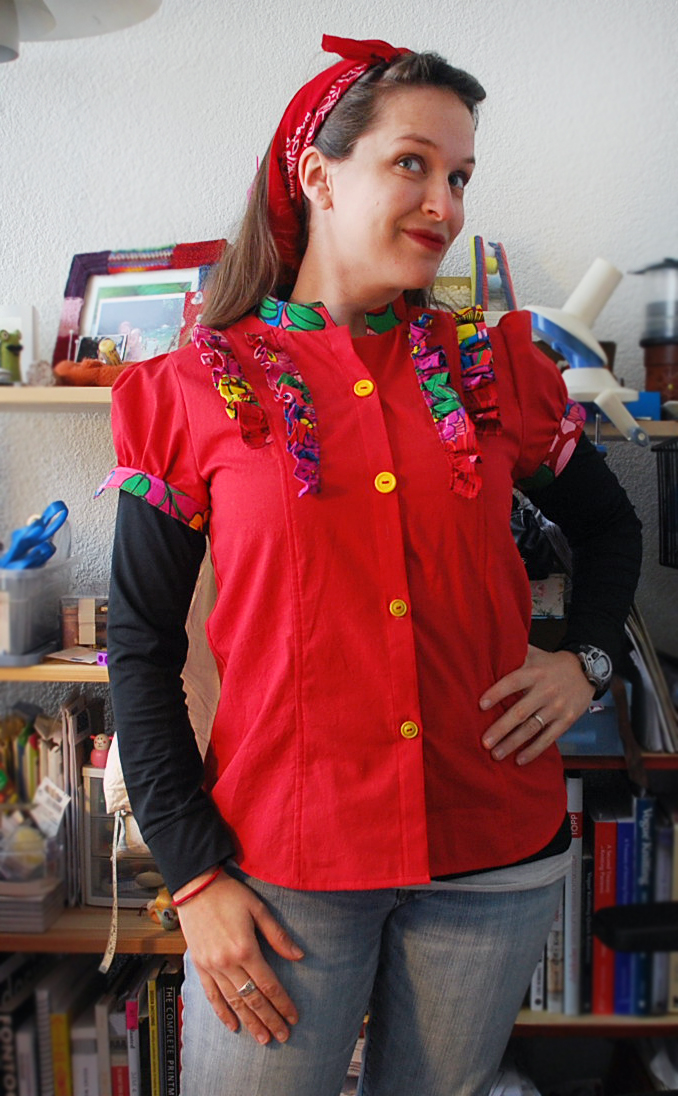
Recently, I completed the JJ Blouse, a free pattern from BurdaStyle.com for Sew Weekly's Valentine's Day inspired red challenge. This free pattern is adorable, but the instructions are a bit difficult to decipher. So, here's a tutorial to clarify some of the difficult parts.
 |
| JJ Blouse, some modifications |
Have the JJ Blouse pattern printed out from the BurdaStyle PDF. Assemble the paper pattern and cut out, or trace and cut, or whatever you do to transfer your pattern pieces onto your fabric. Use the cutting layouts for help and pay attention to the fabric grain (especially for the ruffle pieces - they're cut on the bias).
Make sure you have all the correct number of pieces cut out in the fashion fabric and in the interfacing fabric.
Step 5:
Iron your interfacing onto the wrong side of one of the collar pieces (piece #7). Before ironing it onto the two cuff pieces (piece #6), make sure the darned thing fits around your upper arm (minus 5/8" seam allowances all around). Mine barely fits. Adjust accordingly. The sleeves do have some ease at the cuff, but be ready to adjust/widen (by slashing the pattern) if you have larger upper arms.
Step 6:
Here's where the fun begins. Illustration (6A) shows you how to fold piece #1's outer edge using the folding marks to make a "Z" fold, ending with the RS facing you.
 |
| Step 6A |
 |
| Step 6A |
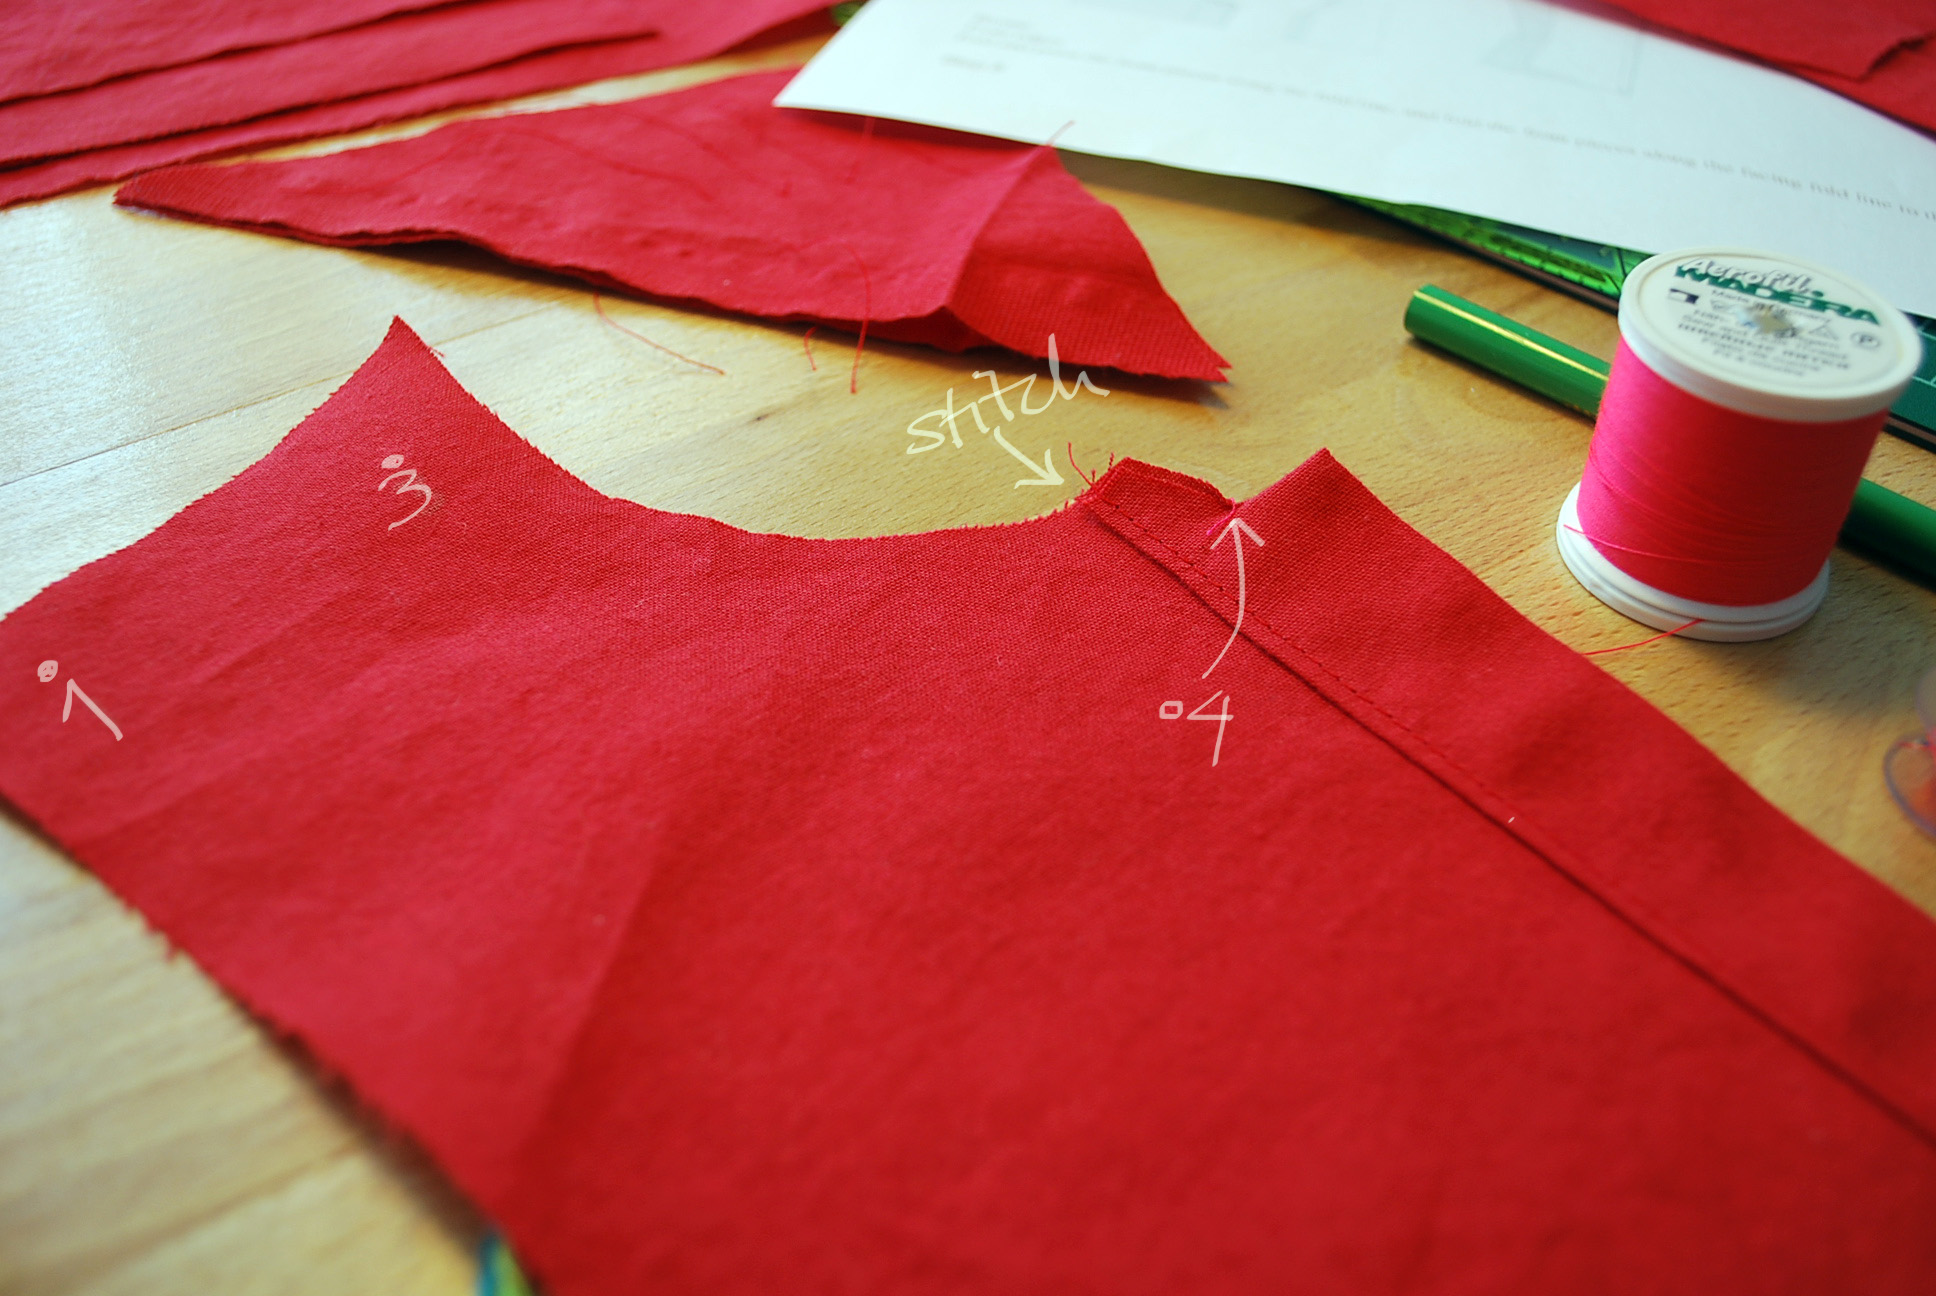
Then, with the folded edge pinned and pressed flat, stitch from the center of the
folded band (marked as dot 4) out to the
outer edge (6B).
 |
| Step 6B |
Notch into the top of the collar toward dot 4. Trim the excess fabric above the stitched section only. Then, turn the folded band inside out, pushing out the corner with a knitting needle. Press again using the folding marks as guides. Stitch close to the edge to secure the button band.
 |
| Step 6C, WS facing |
Step 6D is pretty self-explanatory. Attach the back side pieces to the center back piece #3. I used a flat-felled seam on the RS our outer side of the garment. Here's a tutorial from Colette if you want to replicate it. All my flat-felled seams were pressed toward the front opening of the blouse. Does that make sense?
Step 7... See Part 2 here.
1 comment:
Thanks for taking the time to explain the instructions in such detail! This is my first proper blouse and I have much more chance of making a success of it with help like this!
Post a Comment