Showing posts with label BoM. Show all posts

Tuesday, December 3, 2013

Craftsy BOM 2012 - Blue Quilt Done!

Finished binding this rather large quilt yesterday evening, and took some photos of the finished blue quilt on the ironing board.  Maybe I can get someone to hold it up over their heads so I can take a photo of the full quilt front and back.  In the meantime, here's my too-excited-to-wait photos...


The quilt is bound using DIY binding made from backing fabric scraps.  Since the blocks were medallion-style quilted, then sewn together, this made for a LOT of scraps.


I'm really pleased with how the blocks came together. Doing the free-motion quilting in smaller chunks really let me explore different motifs and techniques.  For new FMQ-ers like me, I found Leah Day's motifs, tips, and tricks to be invaluable.  Her main website is free, and her first Craftsy course focuses specifically on this quilt as well as generally handy techniques for free-motion quilting on a regular home sewing machine.  Those Machinger's gloves that she recommends are not a gimmick.  If you have perpetually dry hands like I do in winter, those gloves saved me a lot of muscle aches. They helped me grip the quilt-sandwich open-handed - letting the machine do it's job without fighting the weight of the fabric.  I'm now using the gloves for all kinds of sewing, not just quilting.


I bought this binding foot off of e-bay to sew on the binding, but I couldn't figure out how to turn corners with it.  So, it's great for straight binding, or continuous binding, but not so much for corners.  Maybe there's some kind of trick I don't know. (?)


 I don't like it when my blankets have a lip or any edge that can snag a toenail.  So, I ended up doing a second pass on the binding with a zig-zag stitch.


Next up... finish the twins knitted blankets and a whole host of  holiday projects!  I think I'm going to wear this quilt over my shoulders while I work on the knitting machine.  It's cold today!

Happy crafting, everyone!

Monday, November 25, 2013

Craftsy BOM Blue Sampler Quilt: Nearly at the finish line

Medallion style quilting definitely has its advantages.  I was able to comfortably FMQ (free-motion quilt) each medallion which is something I can't do easily with a full quilt sandwich.  But, it also is quite tedious.  Putting together each block in order gets a bit tiresome.  I guess I'm ready for this project to be d-o-n-e!

I show you... progress!
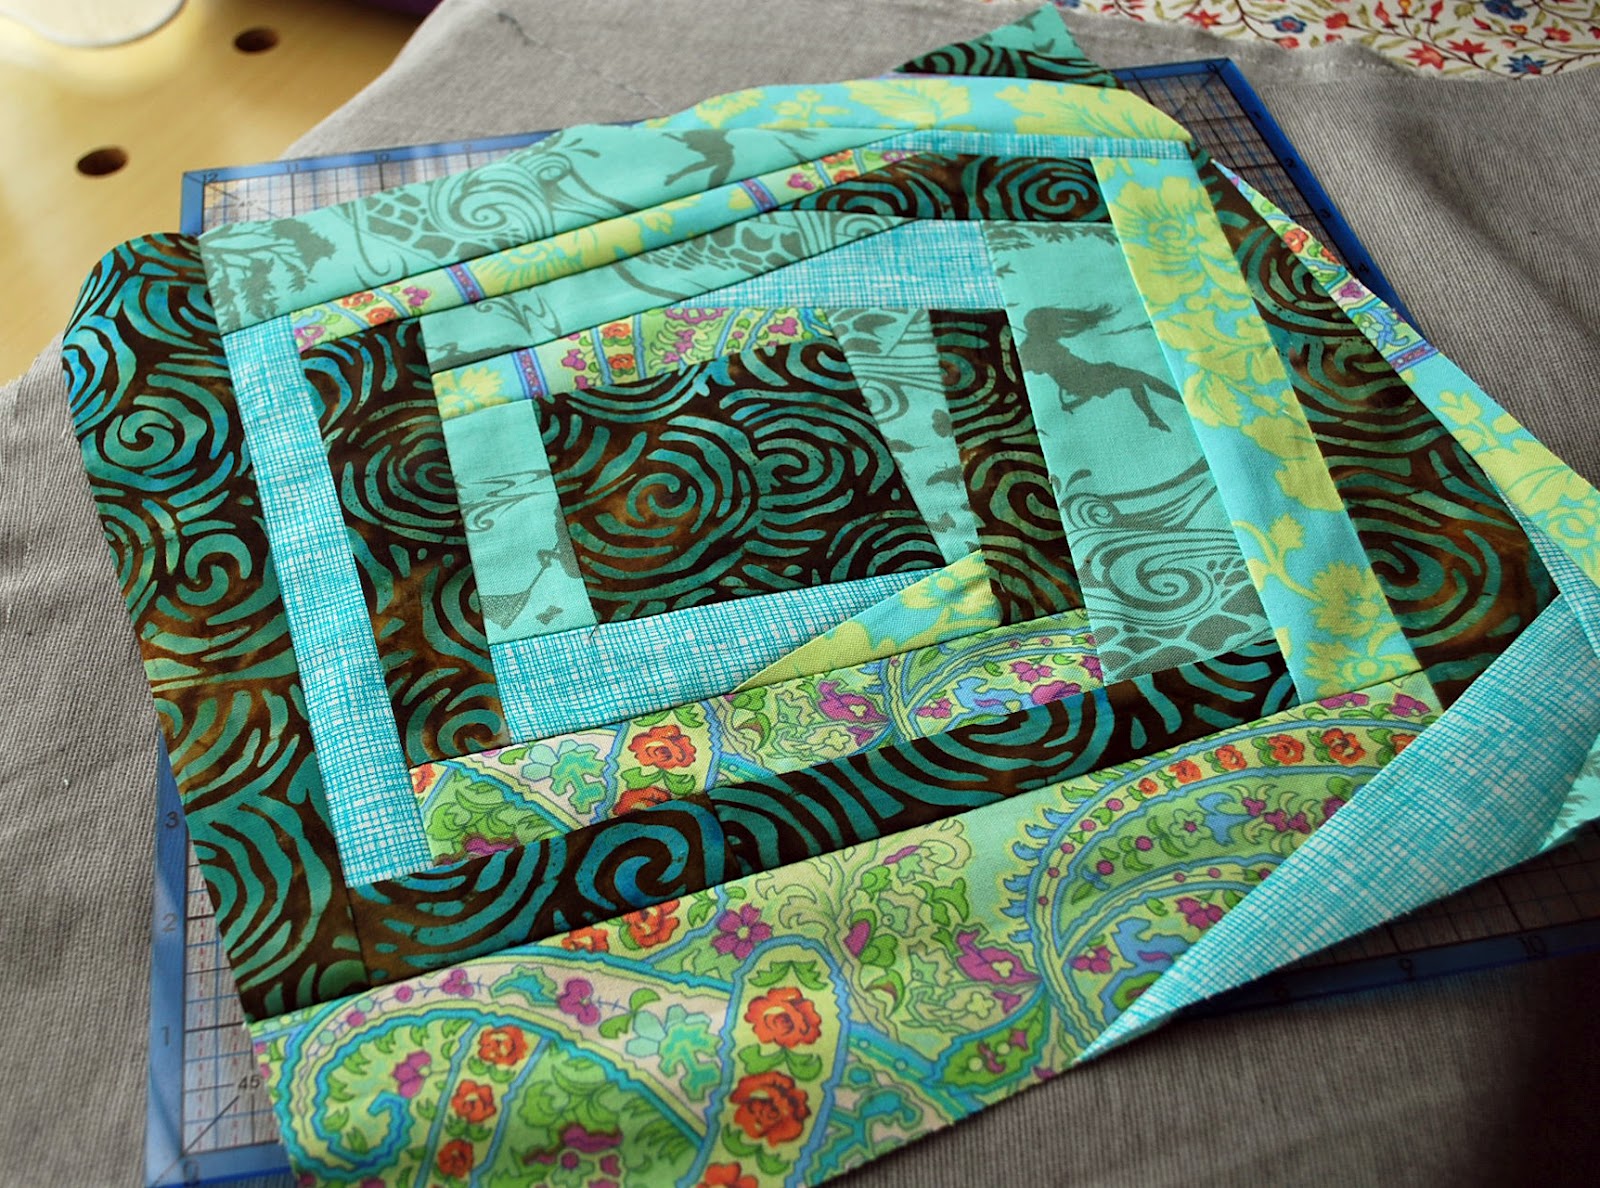

A wild, sampler quilt made with scraps of fabric from all over the place.

So close!  I'm almost there!  What's left?  I've got to sew together 4 strips of the blue stand-in fabric (ran out of the original) and random scraps for the back and then even up the edges.  Somehow even though I measured my blocks and I thought they were all the same, one row of medallions is slightly larger than all the rest.  Dunno what I did differntly, but I just need that last gust of energy to finish this up!

Also, some advice.  Keep your fancy yarns away from enthusiastic FMQ'ing.  Tee hee!
Still not sure how I did that.


Also, don't forget to enter this week's giveaway which ends Wednesday, November 27th.  I'm giving away a lovely silk/mohair scarf!  See giveaway post here.

Monday, November 11, 2013

Blue Quilt Progress!

Ack, I thought I had finished more blocks than I really had.  It turns out, I ran out of backing fabric, and I had left some with batting ready to go, but no backing fabric.  I had been using up all of my green fabric as backing for the blue quilt, but I've run out!  So, I'm improvising.  Time to stash bust...


But, I did make some progress.  Even with a bit of the "shaky hands" at the beginning, I got through free-motion quilting six more blocks from the quilt.  Hopefully, I can get all the medallions done this week and get started sewing them together.  There's still binding and washing, too!
little bit of the shaky-hands, but oh well!


Monday, July 1, 2013

WIP Blue Quilt and Google Reader Reminder


Just in case you're still using Google Reader to subscribe to my blog, today is the final day it will exist.  If you'd like to continue to read my blog, you can follow me on my facebook page here, check out alternative RSS feeds, or you can easily follow using Bloglovin' and this button below:

Follow on Bloglovin

In other news, I'm FMQ'ing like a fiend!  It's really addictive.  And last year, I snagged a box full of thread from a quilt designer who was clearing out her stores and getting into knitting.  So, what a treat to use all the threads I bought from her!  I love the look of the variegated threads on solid fabric.  With each block I feel like I'm getting better at controlling/coordinating the motion between my hand and the foot pedal.  It's a bit like driving manual (stick shift / standard).

Details from the latest blocks...


Wednesday, June 26, 2013

Finally Free-Motion

FMQ= free-motion quilt(ing)
After walking around the blue quilt blocks, starching, prepping, observing... procrastinating... avoiding...

front of block 1
back of block 1
I took the plunge.  I finally said, "Adri, get it together and just free-motion quilt.  Just do it!"  So, I revved up my FMQ mojo by watching Leah Day on her Craftsy class and her blog videos.  I finally bent back the pin of my FMQ foot, wrapped it with a rubber band, and then, I did it.  I free-motion quilted.  The mods to the quilting foot work well by the way.  I had tested it before - I've been practicing on a quilt sandwich for a while - and working with the modifications afterward make a difference.  It's worth giving it a try if you have a generic foot at home like mine.

front of block 2

back of block 2

 And, I think my first two quilt blocks are a really good effort!  Whadya think?  I feel like I have more control when my hands are further apart, so I'm going to try and rig up a stand or something to keep the blocks at the same height as the sewing machine.

The sensation of FMQing is a lot like drawing or doodling, but with a whole new kind of stylus!

Sunday, November 11, 2012

Block of the Month: October

This month's blocks were the most difficult to date.  And, sadly, they're the last blocks in the Craftsy Block of the Month course with Amy Gibson.  I'll miss her cheery instructions!


So, I'm once again a little behind in finishing these, but foundation paper piecing is a serious challenge to a quilting newbie.  I found the perforation process of the printed paper to be the easiest part.  I had to un-sew at least one section for each block during the sewing-it-up part, and that's a rarity for me.

I eventually found a way to make these blocks so that the fabric scraps were definitely going to cover the next section (plus a 1/4" allowance)...  It took finishing a whole block for me to develop it, and it's really hard to explain outside of making one on video (future project?).  I think each person comes up with a way to make these blocks work with their skill set and way of thinking.

With the paper pattern facing me, I placed piece #1 print/RS face down and glue-stick stuck it to the paper.  Then, I flipped the paper back and trimmed the seam allowance.  Then I turned it so the fabric was facing me and I pretended to have sewn the next piece and folded back it's seam allowance and made sure it really was going to cover piece #2.  Then I placed them fabric right-sides together and held them together securely and stitched over the line between #1 and #2... This was the best way I found to be sure things were going to work out.  It's not the fastest way, but it was the surest for me.


These two foundation paper pieced blocks were very time consuming, but absolutely impeccable in the points they create!  Soooo sharp!

Monday, October 15, 2012

Block of the Month: September

Last month's block... but, better late than never, right?
I finally had a bit of time to make my quilting blocks for September.  I've yet to complete October's blocks as they require quite a bit of printer paper and special piecing.  I have had house-guests and Oktoberfest, and tons of projects to contend with my time... things seem to be winding down and hopefully I'll have more time to dedicate to finishing projects!

Here's Cleopatra's Puzzle Block:


 And, here's my first ever curved piece block, the Drunkard's Path Chain Block:


 And, that leaves just two more blocks for October to finish the quilt!  I'll likely be adding more blocks so that the quilt matches our bed size, but it's cool to know how far I've come in the process!  Almost there!

Tuesday, August 21, 2012

Block of the Month: August

This month is my birthday month, and so far it's been non-stop work and only a few pieces of cake.  no, that's an exaggeration.  It's been good news for my portfolio, but it makes sewing time and hobby time a premium.  So, when I had time during these past few weeks, I cut the pieces for this month's squares.  Then, finally, I had time this afternoon to put them together.

The theme for the month of August was stars...

Ohio Star Block


Double Star Block


P.S. If you do plan on making these blocks, especially with the double star block, make sure it's really a scant 1/4" throughout.  My block came out a bit under in length on one of the sides.  I was "in the zone" whilst sewing and lost track of the "scantness" in my 1/4" measuring.  I'll mark it on the throat plate next time.

Monday, July 30, 2012

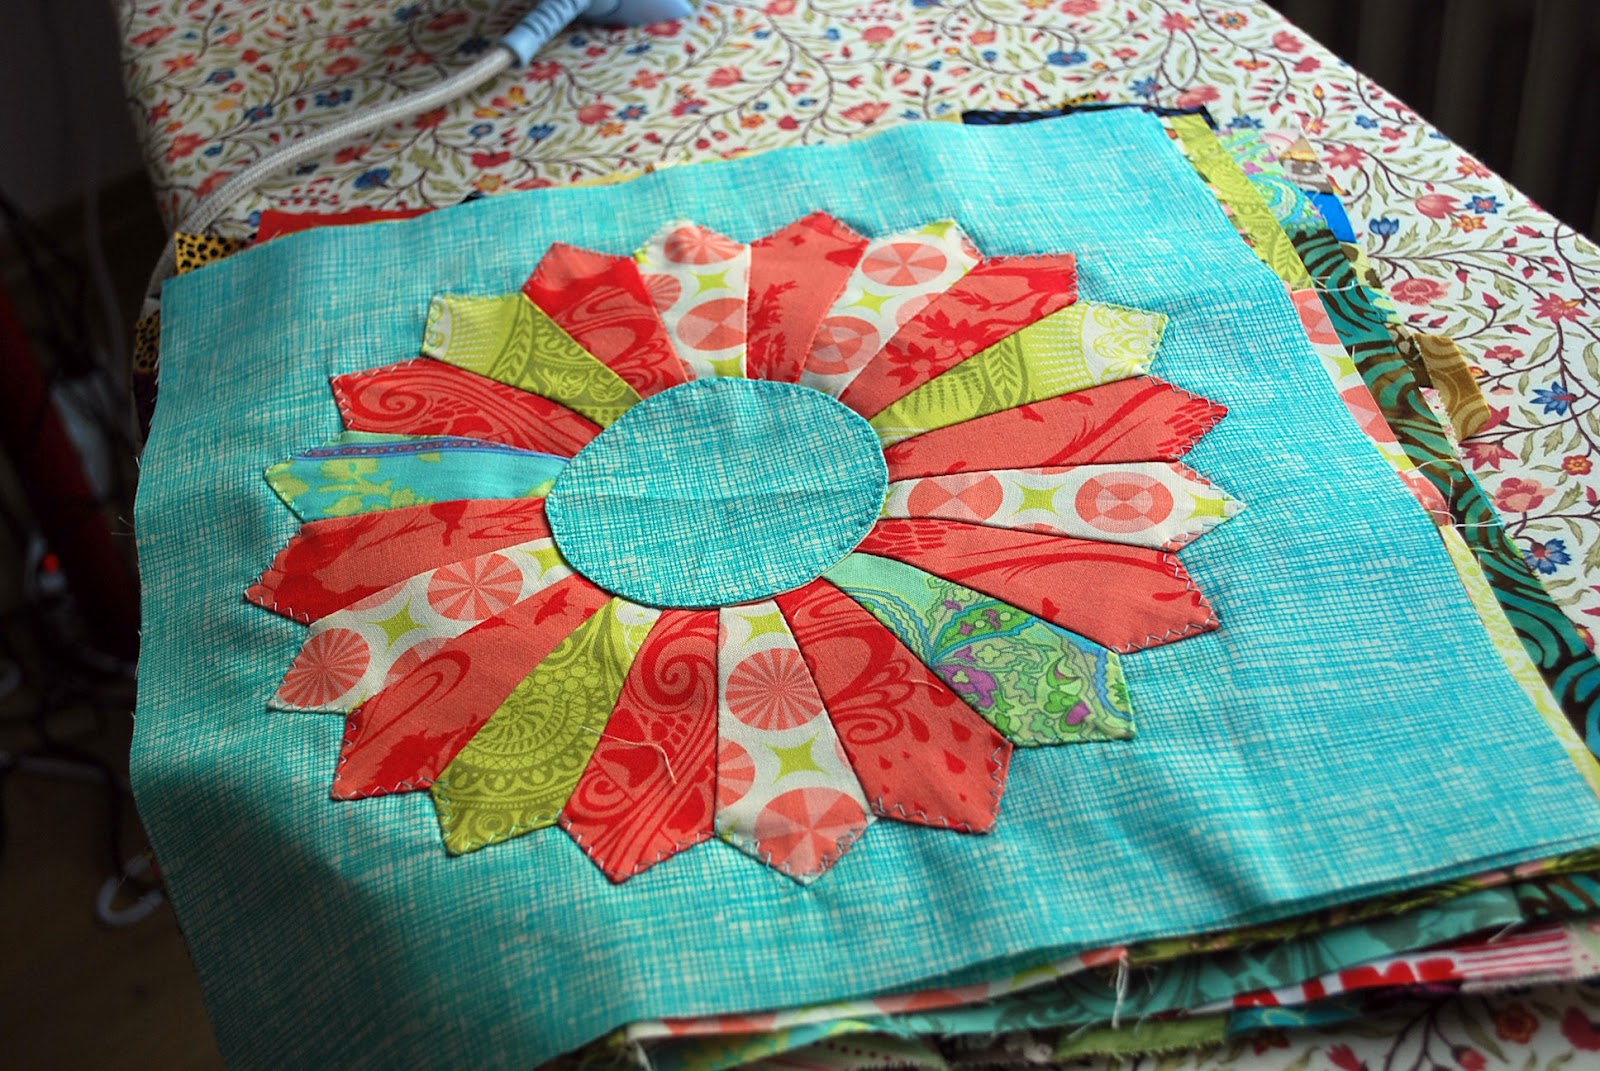
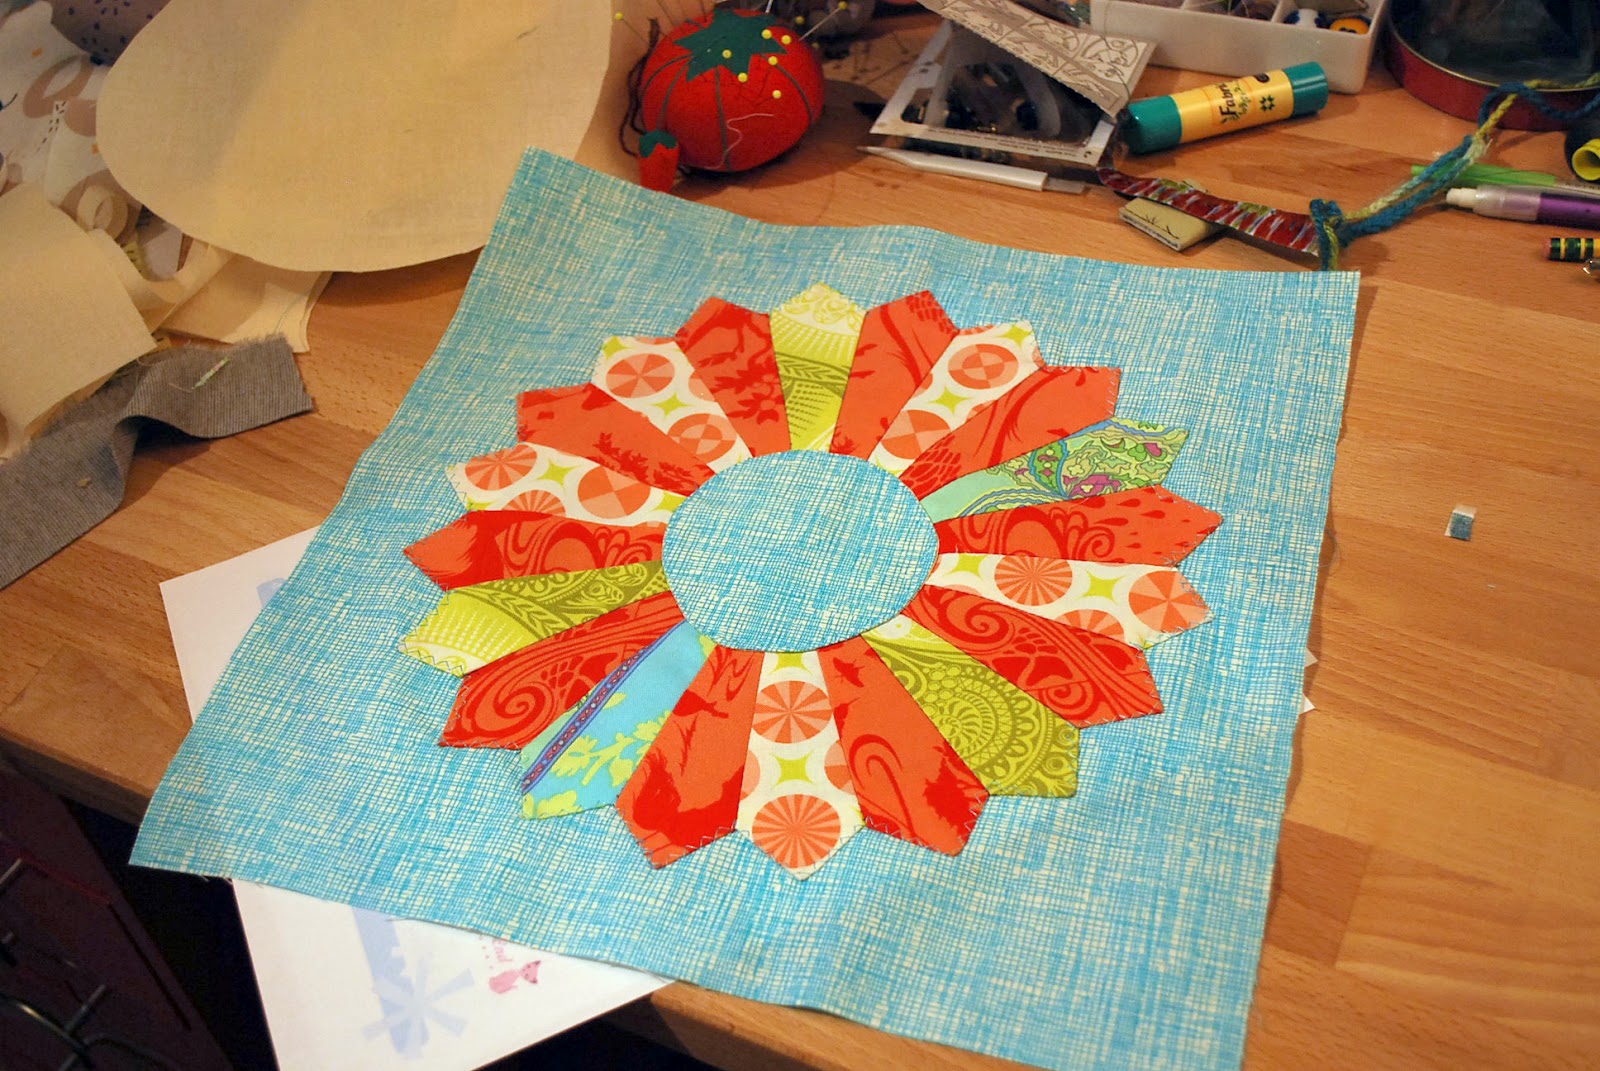
Block of the Month: July, Dresden Plates

I've had a bit of a hiatus from the world of quilting, and I almost missed making the Block of the Month for July!  Luckily, I was able to scrap together the blades for these Dresden blocks this afternoon.  I was surprised to see how efficiently a Dresden plate can use fabric.  The fabric eater here was definitely the doubling of the circles to ease the turning of the 1/4" seams.


The first plate uses modern styling, the fabric is a blend of scraps: Amy Butler, Tula Pink, and some owl fabric from Ribas y Casals in Spain.


The second plate is a traditional Dresden plate again with a motley crew of scraps, but because this plate required 4" length I as able to use the red from the last block.  I'm really happy with this traditional plate.  I like the contrast between the red and blue.  These are some cheery additions to the quilt.  I can't wait to see how it all comes together!

Saturday, June 16, 2012

Block of the Month: June

This month's blocks were very straightforward.  I used some of that Tula Pink Prince Charming fat quarter fabric bundle I acquired earlier this year.  Seeing that my current blocks were missing a little pink, I went with some of the pinky tones from the collection.  Luckily, the fat quarters were at the top of a container so I was able to dig them out easily!

the mess, my studio
I think the June blocks are pretty cheery, and a great way for me to get back into sewing.  What a crazy month it's been...

Block 1 - Greek Cross


Block 2 - Octagon


I love the detail on this fabric.  The little bee logo that Tula Pink uses is too cute!

Sunday, May 13, 2012

Block of the Month: May

This month's two quilting blocks were soooo (seeewww) easy.
Minty fresh!

Hypnotic Log Cabin Whirlpool

My favorite of the two is the block I'm calling minty fresh because it features teal and minty blue-greens for the theme.  Other from that, it's a "wonky log cabin" as Amy Gibson likes to call it.  I loved making this one, and found the process of using the scraps from a dress I just finished (post coming soon) to be a great way to clean up the area after finishing a larger project. I don't know why it's specifically satisfying, but in some way using up every little bit of fabric you love in a quilt block, just makes it even better.

Standard Log Cabin

your friendly neighborhood log cabin


The red block actually came first and is a more traditional log cabin-type block.  I just cut even strips using my bag of red scraps and the center of the block was a leftover center from the Christmas coasters I made for my knitting groups.  This month's blocks were definitely beginner-friendly blocks!

If you'd like to join in the fun, these quilting blocks are part of Craftsy's free online video course here.

Tuesday, April 10, 2012

Block of the Month: April

April's quilting blocks have been the most challenging to date.  This month via Craftsy's free course, Amy Gibson walks you through English paper piecing and it's quite a process!

First, you cut out your shape based on the templates provided.  These quilting blocks featured a series of hexagons in three different sizes.  For the paper backing, I used scrap chipboard from cereal boxes and some cheesy postcards.  Then, using the chipboard hexagons,  the fabric scraps are cut down to match the shape adding a healthy 1/4" seam allowance.

hexagons w/basting and paper still inside them


Then you baste the fabric by sewing through both the fabric and the paper.  The pieces are then arranged and sewn together if needed.  I took Amy's advice and starched them before pressing.  Once they were cool and dry, the basting stitches and paper is removed and the pieces are appliqued to the block.


 I used a top-stitch to attach them to the base block.  I was a bit disappointed in my brown cotton.  It's a bit thin, but hopefully the rest of the blocks will make up for it.  If not, I may sew it atop another square of scrap cotton.


These were a really portable project which was nice.  It's the first time I take my sewing project over to the S'nB group.  Overall, challenging and educational blocks!