Showing posts with label dress. Show all posts

Wednesday, November 4, 2015

A Group of Charming Cuties

Last week, I had something very interesting happen.  I had a kind of cute-splosion.  I started illustrating for the children's apparel market so I can begin to pitch my work.  I did some short research by looking at my son's clothes and picking out my super-top favorites.... and then it all just flowed.

It was remarkable.  I just worked on Illustrator and out came these characters and their back-stories and little lives.  I kept wanting (and still do) to keep on drawing them and their accessories and interactions...


Next, I want to develop each character on their own!  What do you think?

Sunday, March 8, 2015

Picante Dirndl

When I was a kid, I loved comics.  I was a big fan of the "what-if" and alternate reality issues that comics would sometimes print.  This idea of "what if's" popped into my head as I posted about this past week's MATS Bolt Fabric Assignment, and it wouldn't let go.

What if... I did make a dirndl out of my own fabric?

I imagine it looking like this!  I used Burda's Dirndl Pattern 8448 as the basis for this visual mock-up.


I think that would be really unique to wear to Oktoberfest 2015!

Please note that I do not have any affiliation with Burda or their patterns, and I do not represent Burda or their parent company in any way.  Just an illustrator and DIY-er here.

Friday, August 23, 2013

Sewing: Pastille Dress

I made the Pastille dress from Colette's Sewing Handbook a few weeks back.  Originally, I started it for a wedding back in May, but didn't finish it in time to re-do the sleeve facings.  In the end, I still paired it with a silver satin sash/ribbon to break up the blue.  It's a bit plain, but perfect for the second wedding which was blue themed!

Here's the top...


And, I had to take full-dress shots afterward because I couldn't find any photos of the dress in its entirety in the preliminary wedding photos.  Also, Mom, if you read this post, know that I swear I ironed the dress for the wedding.  I just didn't feel like ironing it for the blog photo.  And, it's the same stubborn fabric crease that I starched, steamed, and pressed... and still it came back weeks after the original event!!


Pattern: Pastille dress, Colette patterns (from the Colette Sewing Handbook)
Fabric: blue cotton chambray, super lightweight and comfy, but wrinkles like the dickens
Notions: zipper, hook/eye closure, silver satin ribbon at front
Accessories: silver satin sash at waist
First Worn: August wedding, 2013
Wear Again?  Yeah, probably for picnicking... just need a more casual belt.

Friday, May 17, 2013

Me-Made-May Week 3

It's the Me-Made-May Weekly Wrap-up!

Part of last week and the beginning of this week I was traveling, but was still able to bring along a thing or two of hand-made goodness.  I wore this comfy travel ensemble to Prague where I fit right in. This is the Iris Pullover from last year combined with the Amaranth headband.  I love wearing it what can I say? 

Re: Prague - The locals like to dress really funky, and I loved their personal style!


Then, when I came back to Munich, I wore a completely me-made outfit.  From head to toe, I wore a cowl (cross-hatch cowl) and top (to be named) both designed by Amanda of Dilettant Knits, and then hand-made jeans made with Jalie's 2908 pattern.


missing photo here>>> http://twistcollective.com/collection/blog_images/mjandadriana.jpg


Later in the week, I walked about town and wore the plaid skirt I made for the Sew Weekly along with the cross-hatch cowl previously mentioned.  That's the thing about cowls - they become your go-to accessory and especially in Munich's fickle weather, you just don't know if it's going to be cool or warm or what!  So, a cowl is a great flexible item to have.  And yes, my hair was a bit crazy yesterday...
Today I'm wearing a hand-knit camisole, the Orange Blossom Camisole I designed last year.  And, as I was writing, I realized I missed a photo from this week.  I met up with a friend and wore my hand-knit lace Apres Surf Hoodie (designed by Connie Chang Chinchio).  Hmm. Maybe I can ask her for the pic when she has some down time?  Ah well.  In the meantime, here's today's outfit...

Also, the giveaway winners have all been in contact and their loot is on the way!

Wednesday, May 8, 2013

MMM 2013, Week 2

This week has been really interesting.  Firstly, thank you to all the visitors to the blog that commented on the Sew, Mama, Sew giveaway!  Wow!  I've never had so many people comment on anything.  Ever.

I've had to take most of my own photos this week, which is usually fine because I set up the tripod and all that.  Take my time, check lighting, and adjust locations.  But, with these daily shots, I was trying to do them quickly because I'm working on quite a number of different projects which meant no time for the tripod and the lollygagging. Sadly, I can't show most of these WIP's that have taken over my life because they're not yet published.  But, when they are live and ready to show... one is an illustration project, two are logos, and two of them are knitting projects... you'll be the first (or second) to know.

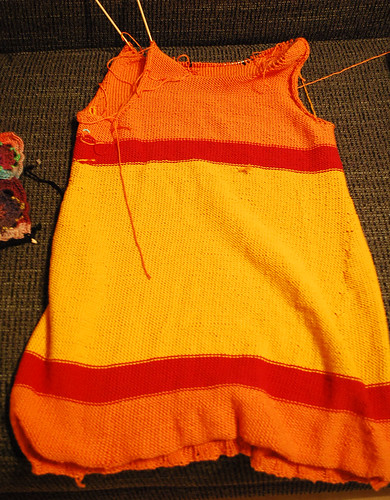
My own personal knitting has taken a back seat because my arms/hands/elbows are somewhat injured due to repeat motion injury stress. So, I've been using the knitting machine - more on that later.

Here are this weeks DIY outfits for Me-Made-May, 2013.

May 6
(May 5 is a typo!) I wore this upcycled green top that used to have these ridiculously huge leg-o-mutton sleeves that looked a bit like loose flesh to my untrained eye.  I chopped them off and tailored them to short-ish sleeves that are more acceptable to me.  The shawl/scarflette is the Amaranth Shawl that I designed this past fall.

May 7 
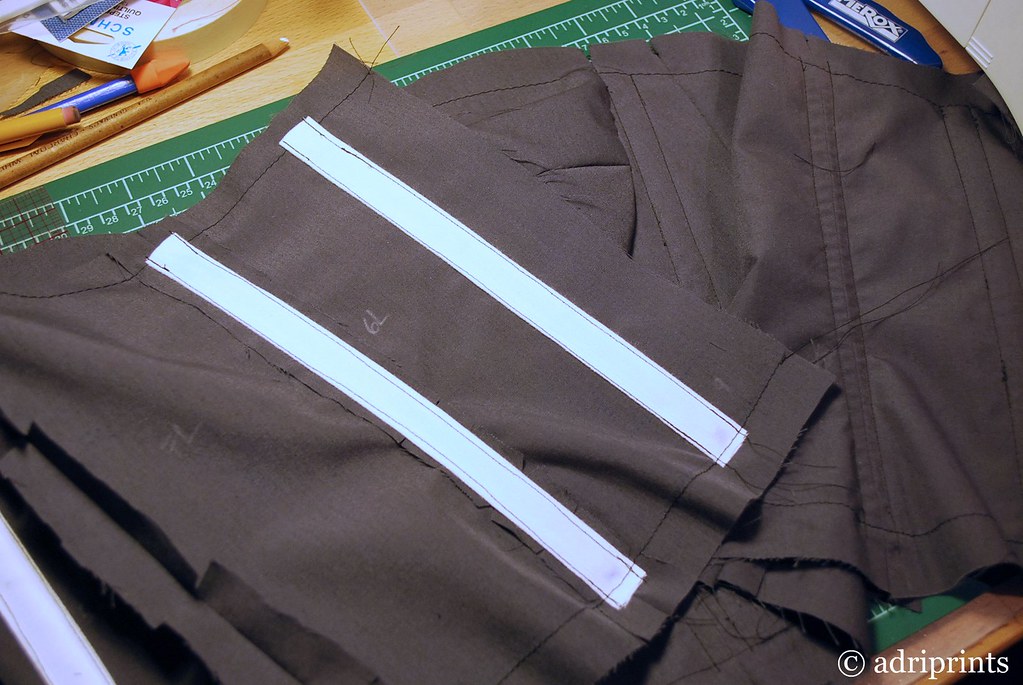
This challenge had me digging!  I woke up late and remembered the brown jeans I made for a Sew Weekly challenge last year.  They fit much better now!  My DH took this photo and didn't warn me at all that my top was so wrinkled.  Oh well.  It straightened itself whilst cycling to work.
May 8 
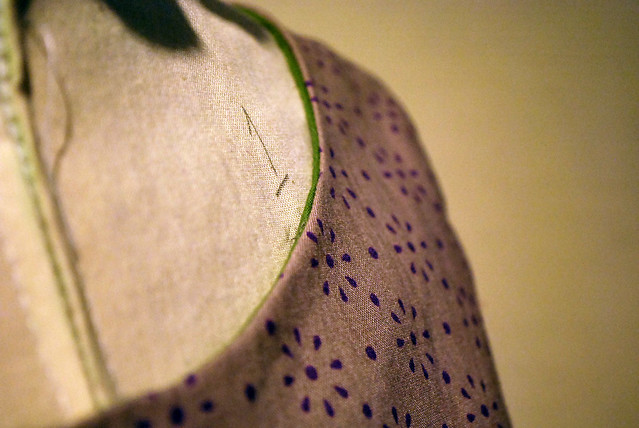
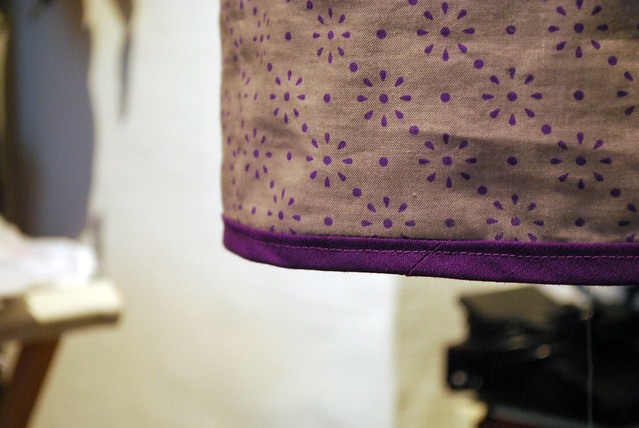
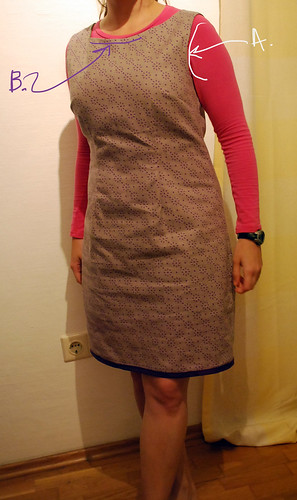
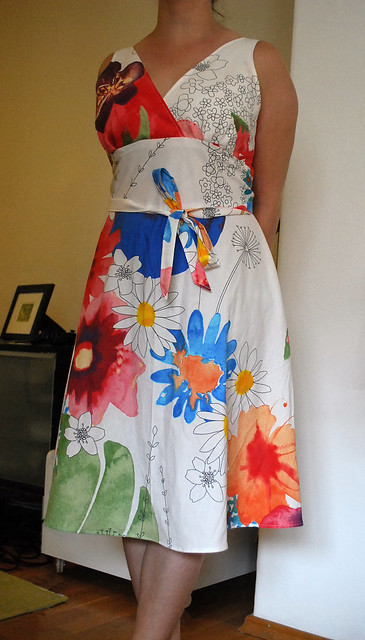
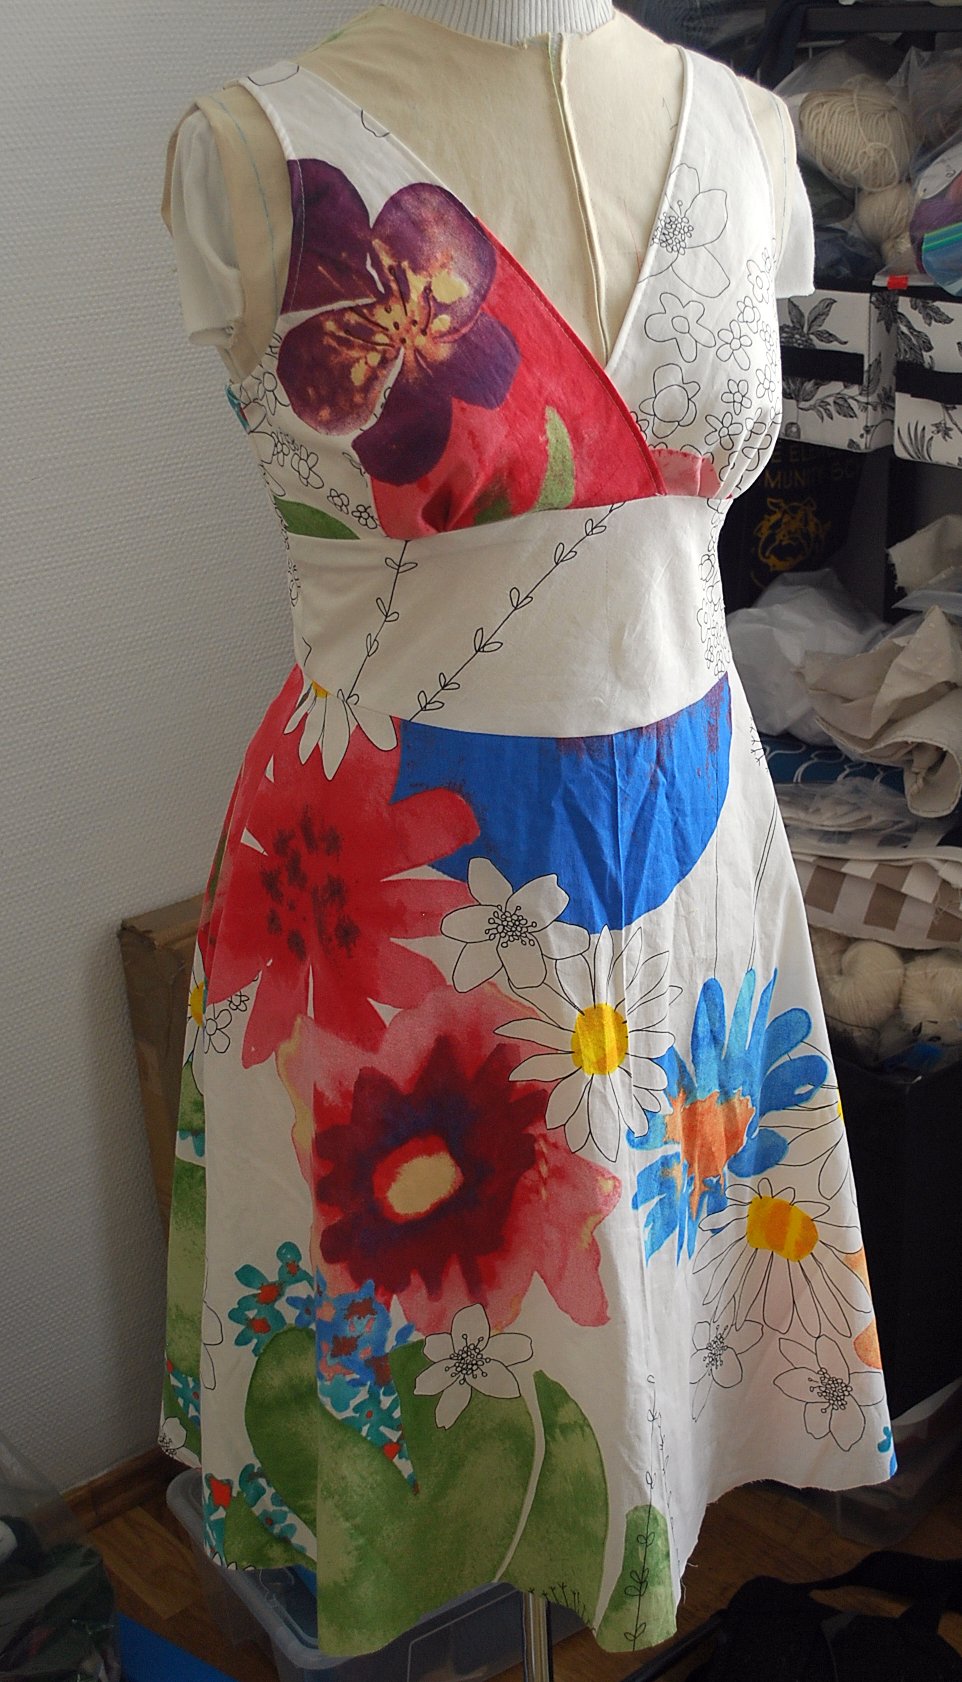
The sun was shining, but I bruised my knees this past weekend with the bike pedals so I didn't want to go bare-legged.  Out came the Go-Go Triangles dress from last year's SewWeekly challenges and the grey leggings.

In knitting machine news, I've nearly completed my first garment.  I'm just trying to figure out how to cast-off in the center of a piece. It's something I take totally for granted in hand-knitting, but it's taken me 3 tries so far to get it right on the machine. 

May 9
We'll see what today brings, but whatever comes my way, I'm wearing the red JJ Blouse I made last year in February.  I'm wearing a hand-knit loop and headband, too!  Have a great day, folks!

Friday, May 18, 2012

The "Go-Go Triangles" Dress

Originally posted on the Sew Weekly for the "mix it up" mixing prints challenge.

Cheers to mixing it up!  A weekend wedding was just the kind of fire I needed under my butt to make this dress I've had in my queue since this time last year.  Although it was freeezing, I stripped off my jacket and ran into the sun so Sam could take photos while the sun was still shining.  Lucky weather for a Dutch spring wedding - we haven't regularly seen the sun in a while!
 
The Facts
Fabric: 1.5m Batik & .75m quilting cotton, .5m quilting cotton for bodice lining, acetate for skirt front lining
Pattern: 5/2011 Dress with A-line Skirt
Year: 2011
Notions: zipper, some bias fusible interfacing tape
Time to complete: 3 days
First worn: 05/12/2012
Wear again? yes!
Total price: Not sure, probably around $20.


Price breakdown: The Batik was a gift from my friends (a gift certificate for Quilt et Textilkunst in Munich).  The Timeless Treasures quilting cotton for the sketchy blue parts of the dress were from the Fat Quarter Shop or Hawthorne Threads (~$9/yd). The Amy Butler quilting cotton for the lining has been in my stash for at least 4 years.  The acetate was leftovers from the Plaid Starlet Suit Jacket.


This dress goes down as my fastest dress ever.  I was so happy I put it together so quickly and with as little mishaps as possible.  Everything came from my stash this time and it felt good not to have to run to the store.  It all came together just in time for the wedding - even a day early!  I guess I must have learned something in the last several months after participating in six challenges. The wedding went well (although it was still quite cold for May!) and my dress was comfortable and matched the blue/teal color theme of the day.  Many guests were wearing teal blue it was hard to believe none of us knew what the colors of the decor were going to be... the invite was red and white!

yes! I picked the right colors!!

As for the pattern, I recommend it for those with a little experience and even the adventurous beginner.  I adapted a little bit by changing the zipper to a lapped one, and I added a lining to the front and side triangles.  It really helped with dancing whilst wearing nylons - no cling or bunching while busting a move.  I lowered the neckline slightly - ooh you can't see it because the knitted cowl is covering it...Ah well, the cowl a pattern by Laura Chau called Dipped Infinity Scarf which is super easy and pretty IMO.   Take my word for it that the neckline is a boat-neck and the straps are quite thin but still mostly covered my bra straps.  I modified the back to adapt to my shape before the zipper was installed, and that was it!

Sunday, December 25, 2011

Bombshell Dress: Part 2, the Dress!

Merry Christmas!  Happy Holidays!  It's definitely holiday party time!

This dress is my New Year's Eve dress.  (( How in the world?  Did you make that? ))Yes, it can be done by you, too!  I followed the Craftsy course led by Gertie (Gretchen Hirsch of Gertie's New Blog for Better Sewing).  The Craftsy course featured a Burda pattern for evening dress #122A Bustier Dress w/Draped Detail from the 05/2011 Issue of Burda Style Magazine.  The course itself is a series of videos that walks you through every detail of making this dress from start to finish.  It was great.  I loved it, and it was a great way for me to get back into sewing regularly.

Burda 122A

Modifications:  I omitted the drape detail as is shown in the course.  I modified the bust cups to fit me... I added about 1.5" to the top of the cups and 1" to the bodice.  There was also the swayback adjustment to the bodice top (Tip: If you adjust the bodice piece widths, don't forget to add extra space to the corresponding skirt pieces so they still match later).  To make a rounder cup, I flattened the design line of the bust pieces where they join top to bottom; it makes a less pointy cup.
 
belt accessory, top stitching
I thought it needed some visual interest, so I added a top stitch to most of the seams in the dress.  Then there's the optional halter strap which is just a fabric strip with a few button holes.  Gertie guides you through that, too!  Finally, I added a belt accessory, and that was it!

just strike a pose... serious adri
Okay, so maybe I should explain why I'm in the bathtub wearing rubber gloves... Well, that was the best place not covered in boxes and packing stuff.  Plus, the light was great!  And, I love the yellow rubber gloves.


back view; surrounded by cardboard
shameless.

Details...
The outer dress fabric was purchased from the sales bin at Karstadt in Munich.  The grey cotton lining was from Ribes y Casals in Barcelona.  The grey acetate or some kind of nylon skirt lining, Petersham ribbon, and zipper was from Orag-Haus, Munich.  The spiral steel boning, casing, and caps were from Spitzen Paradies.  The belt clasp was a birthday gift from my friend, Véronique.  It was part of a collection of vintage buttons she gave me.  And, a big thanks to Alyson who convinced me to make this dress as a sew-along with her!  Thanks, Alyson!!

Part 1 of how I made this dress can be found here.

Thursday, December 22, 2011

Bombshell Dress: Part 1

With a lot of help from Gertie's Craftsy Course: Sew Retro Bombshell Dress, I finished this big sewing project.  And, because it took a lot of hand-work, hand-sewing, and thoughtfulness, I thought I might walk you through the whole process.  In a following post or two, I'll show you the final dress. ((tee hee anticipation))

cutting out the paper pattern
In the beginning there were the muslins (also known as toiles, dummies, mock-ups, calicos, etc.).  A few of them.  These were to make sure the final dress would fit me since we knew the original pattern was a bit too small in some areas.  Thanks for the larger bust modification chapter, Gertie!


muslin #2, see the cups?  they are a little too pointy in this version
uh-oh! see that gathering... I had to adjust for a swayback


Muslins take a bit of work because you're sewing the actual pattern pieces together, then wearing them, adjusting via markers, pins, mirror, etc.  And all except the last of them ended up in the scrap bin.  But, when the muslin finally did fit my particular body specialties, I transfered the seam-lines onto fresh muslin and paper (for prosperity and reuse) and cut into the fashion fabric ((scary!)).  Spoiler Alert... It all worked out!  Yay for little victories!

the pattern pieces, thread traced (c) adriprints
Once I cut into the dress fabric, I had already sewn the main pieces about four times.  So, this part went quickly.  Then batting (or foam or whatever you choose) is added to the bodice cups for stability.  This part was a lot of fun.  I loved sewing the cup pieces together and then adding them into the bodice.  You think you're halfway through here, but you're not.  You still have to build the inner lining and the skirt, remember?

the cups are stable!  oh, and learn from me... leave more seam allowances.
After the cups are in, you add the skirt to the bodice, and insert the zipper.  I had to re-do the waistline and revert to the original waistline.  I am high-waisted!  Then, I made the inner lining which holds the boning for more structure.  I thought I would have to wear a bra with this one, but not so; it's so secure it's not necessary!

the inner lining with the casings for the boning
After this, it's just a matter of hand-sewing that inner lining to the bodice and making sure everything's in place!  Photos of the final dress can be found here.

Tuesday, December 20, 2011

Seamless's Challenge for 2012


I recently came across this challenge from Seamless blog.  Elena Cresci's challenge is to "abstain from buying any new clothes" until she finishes her degree in 8 months.  As for me, I'm taking the pledge until the end of 2012.  I was already on my way to not buying new clothes anyway. This year, I knitted several jumpers, hats, vests,  scarves, etc. Then, I sewed several new skirts, PJ pants, and a few new dresses. Now with my recently acquired patterns for trousers (Clover from Colette), I'm on my way to following the "Seamless Pledge" in 2012!

My sewing resolutions (more like goals) include:
  • making a pair of trousers that fit... both my waist and hips without any giant gaps at the waist or funny crotch/inseam issues, in fabric I'll actually wear
  • make a jacket w/lining or a coat w/lining (again in fabric that I'll wear)
  • make a quilt for the bed
  • drape a garment, creating it from scratch (patternless!)

The Rules for the Seamless Pledge

  1. No buying new clothes for the duration of your pledge. By new, I mean any new mass-manufactured clothes.
  2. You can buy second-hand manufactured clothes – so be prepared to get to know your local charity shops awfully well.
  3. Vintage clothing is a-ok!
  4. Anything you’ve made by hand is definitely allowed. Get your sewing machines and your kntting needles out, because handmade is definitely in!
  5. Get involved! Join in on the Flickr group and like our Facebook page. I’ll be looking to feature pledgers on the blog in the future. I’d love to see your second-hand finds, refashions and hand-made creations!

Sounds like a cool challenge, right?

Wednesday, November 30, 2011

Homework Dress

Here's my latest finished sewing project, Butterick's See n' Sew B5235.  This one's called "homework dress" because I was sewing along with a high school student who is using the dress pattern as a base for a project of her own.  I wanted to see what possible problems she would encounter, and so we had a 2 person Sew-Along.  I always learn when I make something, and during this project, I learned a lot.  There's a lot of homework left to do on it!!

Things I learned whilst making this dress: stay-stiching, new lining technique, chain stitch to hold lining together, bias tape method from Coletterie.  And lastly, but not least, 100% cotton dresses wrinkle... a lot.

stay stitching on neckline
homemade bias-tape on bottom edge


Things to improve on pattern: waistline, (A) armholes, (B) neckline.  I failed to see the armhole and neckline problems because I was so focused on the waistline issues.  ((Ah, poodle-snaps)).  Forest for the trees I guess.  At least the waist looks good, right?  Maybe?


Thursday, September 22, 2011

Simplicity New Look 6557

Finished this summer dress... in time for fall! It's too cold these days to wear it outside, but I'll hopefully get a chance if the weather decides to be unseasonably warm. You never know!

Simplicity New Look 6557, View B
I used a lapped zipper for the back, but it still needed a hook and eye closure which I added after the photo was taken.

Monday, August 22, 2011

Sewing Adventures: 2011

crazy baby quilt, nearly complete!

The quilt in the photo began as a gift for my niece... in 2009.  I began this, my first quilt ever, with a really complicated block (a 9 square center, sashes, squares, etc.) and lost the size notes somewhere in the in-between.  Now that I have a sewing machine in working order, and have brushed up my sewing skills with a few books and Craftsy tutorials, I took an afternoon and finished the quilt... I ended up kind of redesigning it for my niece's upcoming little brother. Tee hee. So, it's sort of a strange first quilt, but I'm proud of it.  My next step is to quilt the three layers together using a darning needle foot and my home sewing machine.  I'm waiting for it in the mail.


Simplicity 6557 View B
The second project photographed is a dress in progress.  It is Simplicity pattern New Look 6557 View B.  The fabric was an IKEA summer special for 5EUR/meter.  A major bargain here in Deutschland. I'm nearly finished with it.  All I'm missing is the zipper installation, some top stitching, hem, and I think I may add some flower appliques... we'll see.  I think I need to break up that big patch of blue at the center!  Oh postal service, when will my zipper and sewing foot arrive?!

Monday, May 11, 2009

Orange/Red/Yellow Dress Done!

Knitted dress is finally done!
I must say that even though I had the pattern from Rebecca, it was in German and I really had to eye-ball most of it. Thank you to Elemm who helped me translate what I couldn't figure out on my own.

Wednesday, May 6, 2009

Bag Complete, Dress Almost, New Font!

These past two weeks have been productive. I was sick in late April, but am recovered and can now present my latest work.
Mini-dress in Red/orange/yellow is nearly done. The bag has been crocheted, and I'm looking for a suitable strap, and am ready to sew in the lining, and a new font is ready to be released.
I'll be posting again once the bag is finalized, and when I have the pattern ready too!