Showing posts with label yarn. Show all posts

Thursday, February 12, 2015

Fairisle February 2015, Week 2

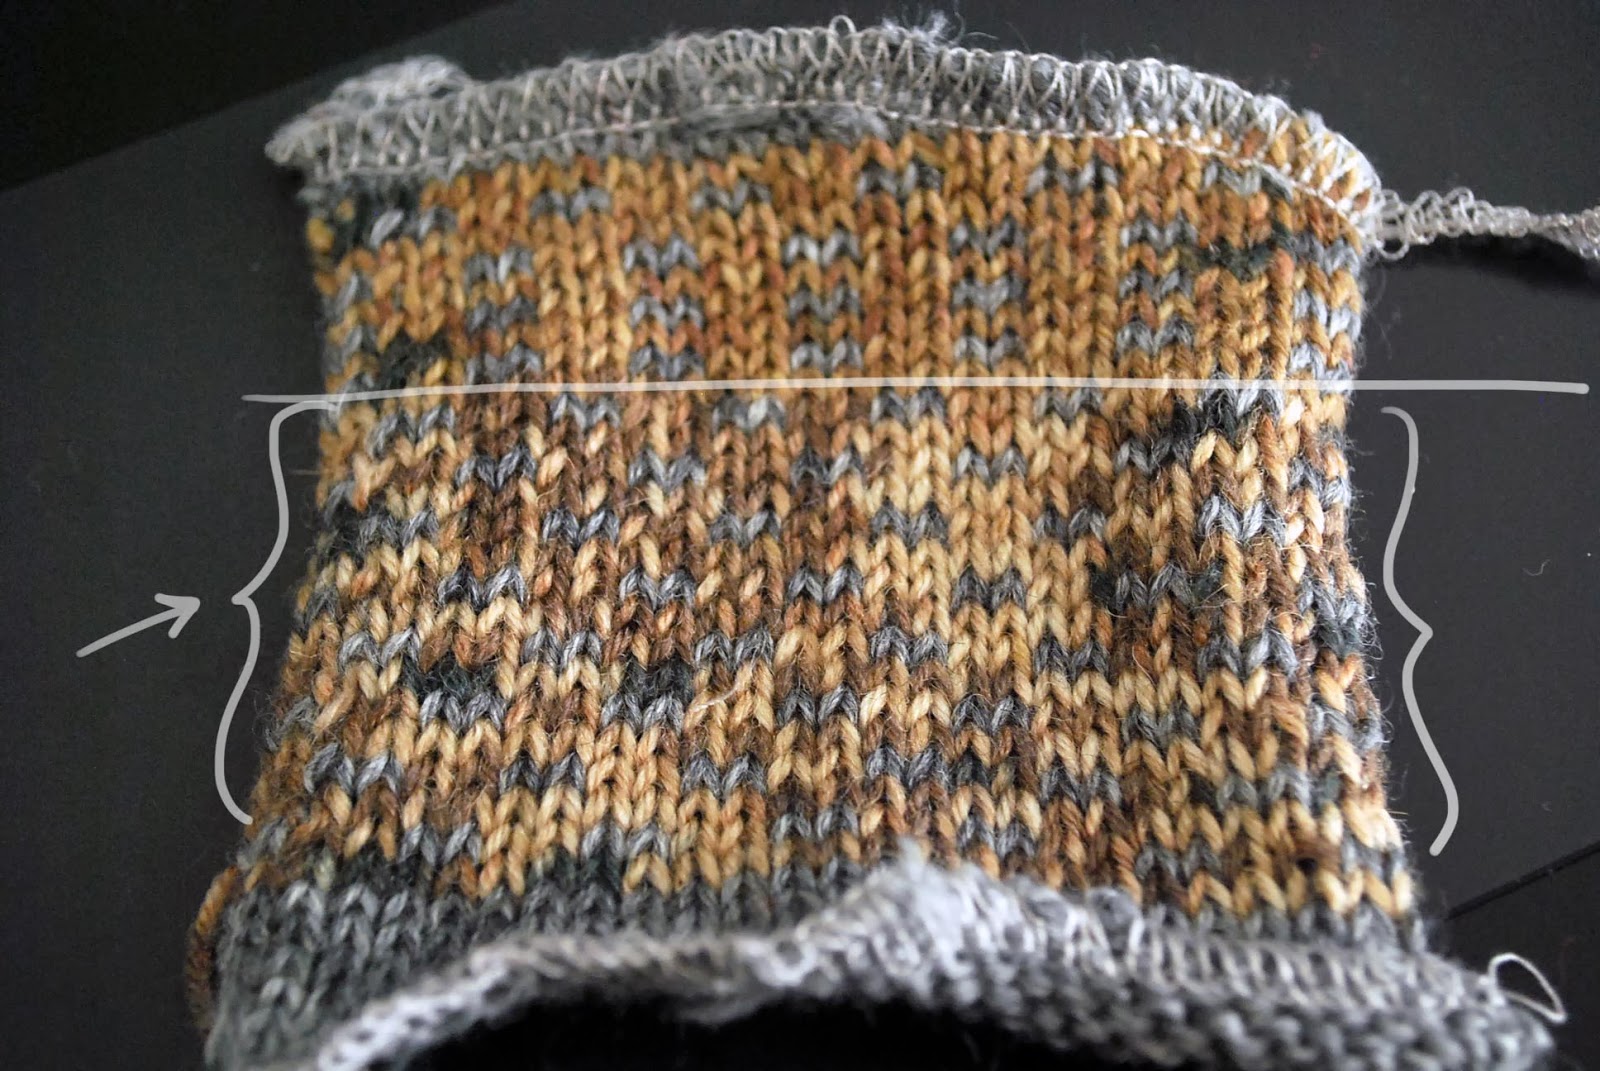
This week, members of the fairisle course had their first chance to STEEK!  Yes, we did.  We cut through our knitting.  And, we did it with impunity!  Hahah! (snip, snip, snip!)

Here are some photos from class...


I love their color choices!  Check out those beautiful palettes!


I was able to make some fairisle swatches using the knitting machine, and I am fairly certain it's what helped many overcome their fear of cutting through their knitting.  Amanda might recognize this yarn if she looks closely... thanks, Amanda!


Lots of students even decided to go the traditional route instead of doing the crochet support.  I think this group was especially motivated to cut their knitting.


Monday, April 14, 2014

FO's: Baby Stuffs

Baby stuff is so satisfyingly quick to make!!  I guess there's extra motivation when you've only got a few more weeks left in a pregnancy to "finish" everything on your to-do list.  In my case, I've had to put the Zig-Zag Quilt on hold because my free-motion quilting foot is on back order.  If I don't get it by this week, I'll just do simple zig-zag echo quilting and call it a day.

In the meantime, here are a few of the things I've been knitting and sewing...

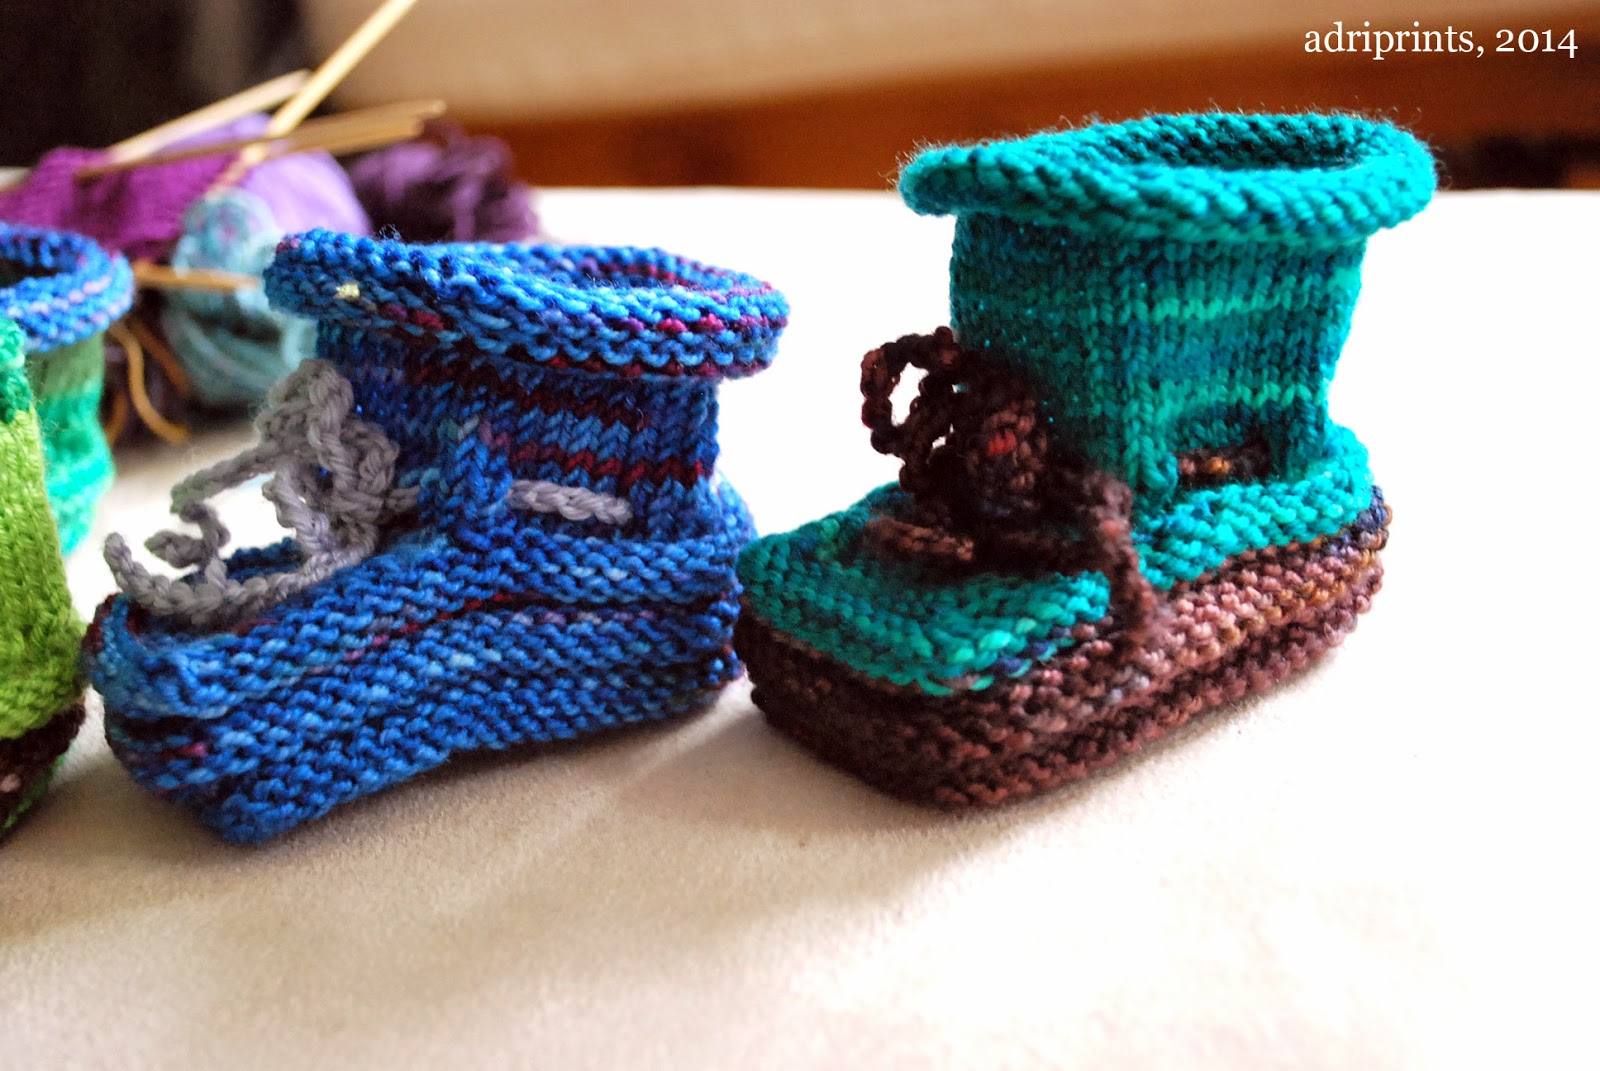
Baby Booties


These are one of the quickest and most satisfying knitted items you can make, and these are made with all the mini leftover skeins I wind after a project so they're a bit of a motley crew.  These booties used sock and sport weight yarns and this pattern is called Christine's Stay-On Baby Booties.


Baby Items & Accessories

I photographed my latest sewing and knitting exploits together.  These include knitted and sewn hats, leggings, sleep sacks, etc.


From the top...

A) Hipster Cred Hat - made with SMC soft merino yarn in 2 colors - pattern from Dilettant Knits
B) Baby Bedtime Bag - made from a recycled t-shirt - pattern from Running with Scissors
C) Tie-Top Baby Hats - made with knit scraps - pattern from Tie Dye Diva via Sew Mama Sew
D) Baby Leggings - made from knit fabric and scraps for waistband - free pattern that came with Baby Bedtime Bag from Running with Scissors
E) Reversible Baby Bonnet - fabric scraps featuring prints from Tula Pink's Prince Charming - pattern from the book "Hat Shop: 25 Projects to Sew..."

And, I'm hoping that everything goes well in the next few weeks!  I'd love to get the quilt finished before baby comes.  Yep, I think I'm going to forgo FMQ plans and get straight to it.

Thursday, April 3, 2014

FO: Mitered Detail Cardigan II

Finished the second prototype!  I really like this version - I made one size larger, which extended the sleeves and front a bit, and that's made a huge difference in fit.  I should be releasing the pattern soon since the MKAL (machine knit-along) is almost done.


The pattern writing is nearly complete, and now that the sample is done, I can weigh it and make further yardage and yarn requirement estimates.  I can't wait to get it published!  I'm wondering, though, if I should get someone else to model the back... it's... well, it's a bit of an insecurity at the moment.  I'm feeling very large, and that's something I've never felt before.  It's taking some mental readjustment, but I'll come to terms with it soon enough.  I've just got this one body to inhabit, you know?


In the meantime, I'm so excited to have this very spring green, very wearable cardigan for the season!


The Mitered Detail Cardigan pattern for machine knitting can now be found here on Ravelry.

Friday, March 28, 2014

MK Tutorial: The Garter Bar

Ah yes, today we learn a little bit about the garter bar- that tool which gave me nightmares until it made my knitting machine dreams come true!

I have an old-fashioned garter bar that I purchased on e-bay a few months back after not realizing that there was a difference between transfer combs and garter bars.  You live, you learn. This kit is a couple of decades old, but is in pristine condition.  Sadly, it came with sparse instructions in Japanese and German.  I do speak and read German, but the technical nature of the writing made it a bit tough.  So, after a bit of internet researching, deciphering the 1970's mimeographed illustrations and instructions, and a bit of trial and error, I photographed my process to share with you all.  It's also here to remind me how to use it in case I need a mental refresher.  Here goes...


Note: I'm using an Empisal Knitmaster 324 and a Brother Garter Bar so the conventions of my machine and garter bar may not be the same for yours.  I've used terms that make sense to me to describe parts of the garter bar, but they are not official terminology by any means.

The garter bar has two sides: one side has all bumps, the other side has all grooves.

1. Place working needles in D position with sts past the needle bed's sinker posts.  Place the needle stop over the working needles, over the sinker posts, but behind the sts of the work. Open all the latches of the working needles.  Place the garter bar onto the needle hooks with the groove/ditch side up


2. Lift the garter bar so it's parallel with the working needles.


3. Use the live sts to close each needle's latch over each garter bar tine.


4.  Slide the live sts over the garter bar tines, past the "waist line" of each tine.


5. Release the yarn from the carriage, and use a clothespin to secure it to the garter bar.
Set the carriage so the Russel Levers do NOT knit the needles in D position.
Remove the claw weights from the work, and then remove the garter bar from the needles with live sts still attached.
Next, remove the needle stop from the needle bed and push the carriage to the opposite side. Breathe.


7. Replace the needle stop over the working needles.  Turn the garter bar bump side up with the knitting work on top.


8. Open all the latches.  Make sure the garter bar is parallel with the working needles, and place the openings of each tine over the latches.  Remove clothespin. All the sts must be as far from the tine openings as possible (behind the waistline of each tine) before you proceed.


9. Push down gently on the garter bar, and slide it toward you.  Keep the garter bar as even with the needles as possible.  Here's the magical part... Each needle's hook should catch the underside of a single stitch.


Check the needles from above.  Every needle has a stitch?  Yay!  You're ready to move on!


10.  Replace the yarn in the carriage.  Remove the garter bar. Remove the needle guard.  Push the sts back into working position. Replace the weights on your knitting and knit 1 row in garter stitch!


Phew!  You did it!


Rinse and repeat as necessary.

Monday, February 24, 2014

Tutorial: A Quick Dye Job


A couple of years ago, I asked a friend of mine who is a professional yarn-dyer how she dyed one of her colorways into a gradient.  I just couldn't imagine controlling the flow of color using the tradition ways of dyeing skeins.  So, she told me.  She doesn't dye the yarn in the skein, she dyes it while it's knitted up like a blanket.

((brainpop))

Materials:

  • 100g skein of yarn meant for dyeing (or natural fiber yarn that can be over-dyed) knitted into a blanket or scarf (a knitting machine makes this faster)
  • gloves
  • kettle to quickly boil water and mix colors
  • Kool-Aid packets (5 to 15 depending on color intensity - this tutorial used 5 plus a pinch of a 6th pack)
  • a microwave
  • plastic bag or surface protector
  • microwave-safe bowl big enough to hold knitted blank
  • jars to mix Kool-Aid (how many depends on how many colors you want to mix)
  • yarn swift

Using a vague version of her technique, I used the knitting machine to knit up one skein of yarn into a kind of blanket or wide scarf.

1 skein of Knit Picks Bare
Then, I soaked it in warm water while I mixed the Kool-Aid colors.  I used 6 small packets of Kool-Aid, and the yarn color is still quite light.


Kool-Aid "Recipes"

1) basic light blue = 1 pack of Ice Blue Raspberry Lemonade + 1 pack Berry Blue + a pinch of Cherry

2) darker green = three dips in the combo of 1 pack Ice Berry Blue Raspberry Lemonade + 1 pack Lemon Lime + a pinch of Cherry

3) yellow blending = 1 pack Lemonade

All colors used at least one full pack of Kool-Aid mixed in a small jar (about 1.5 Cups) of just-boiled water.


Dyeing Procedure

Once all my colors were mixed, I gently poured blue color onto blanket which was set atop a plastic bag big enough to cover my surface.  Note: I wish I’d rolled the wet blanket and dipped it into the bowl for more even coverage. Ah well!


Then, I poured some of the green dye into a bowl, and with a rolled blanketb I dipped the end of the blanket into the bowl with 1/3 green mix, then dipped again, but deeper, with 1/3 green mix, then even deeper with the last of the green mix to create a kind of gradient.

But, where there was a bit too much contrast, I added yellow, pouring directly from the jar and using my hands (in latex gloves) to kind of finger-paint the color.


Then, I cooked the blanket with enough water to slightly cover it in a Pyrex bowl in the microwave for about 3 minutes (checking on it and turning it every minute or so).

I rinsed the blanket in warm water, soaked in “Soak” then spun it dry in washing machine, and unwound gently to dry in hank-form.

after spinning it dry
winding slightly damp yarn is pretty easy

The colors came out much lighter than anticipated, but I'm still pleased with it.  If I want super-intense colors next time, then I could mix larger quantities of color (more Kool-Aid packs + more just boiled water).  But, this fairly non-toxic and relatively quick (with a knitting machine and microwave!) dyeing method appeals to me very much, and I think I will try it again in the future!


So... any ideas on what to make with the newly dyed yarn?


Monday, February 17, 2014

Finished Object: Crystallize Beret

This lovely hat is the second I've made of its kind.  My friend, Amanda, over at Dilettant Knits designed the hat originally for Knitscene.  When the design rights reverted back to her, she updated the pattern adding multiple sizes, and I was able to test knit it for her.  I gave away the first test-knit as a gift, and finally finished this one for me!


Pattern: Crystallize by designer Amanda Bell
Size: small
Yarn: madelinetosh Tosh Merino Light

Wednesday, February 12, 2014

Knitting Machine: Fairisle Experiments

I am a huge fan of fairisle knitting by hand.  I teach a course every once in a while to people who want to learn the technique, and I enjoy spreading the love of fairisle wherever I go.  It's one of those techniques that looks way harder than it actually is.  And, very recently (last week), I started to experiment with the technique on my knitting machine using the punchcards.  At first, I was stymied by some technical issues with the patterning.

See what I mean?

Weird!  Why is it only knitting in pattern every other row?!

It was time for some detective work, and I consulted the amazingly generous and talented members of Ravelry's Machine Knitting Group.  Seriously, they are so knowledgeable.  First, I checked the lever settings as was recommended.  No luck. Then, someone chimed in with a similar knitting machine, and said it could be an un-sprung spring in the undercarriage of the knitting machine.

If you notice, every knitting machine has a carriage that slides across the bed of the machine and it's got tons of tiny cams, gears, levers, springs, etc. underneath that carriage.  I turned mine over and started by looking to see if changing the different modes (tuck stitch, stockinette, fairisle, etc.) made any of those levers move.  They usually move symmetrically, but low and behold, mine did not!


Instead, I found wads of cat hair, fluffy junk, and some sticky, gummy springs.  But, luckily, I didn't have to reattach a spring.  Those springs are tiny. They were all intact, just gummy.  So out came the latex gloves, rags, and machine oil... Fast forward fifty cotton swabs, tweezers, and a dirty rag later...


BAM!  ZIP!


Success!

Thanks for your help, Ravelry Machine Knitting Mods!!   The Empisal Knitmaster 324's knitting smoother than ever.

I still prefer hand-knit fairisle for more complex patterning, and I especially dislike long floats like in that center pattern.  Yuck!  But now I know how use the punchcards on my knitting machine, and that's a start!

Monday, February 10, 2014

Unwinding

Sometimes you unsew, sometimes you unknit.  This weekend it was time to unknit and unwind... literally.


The project:
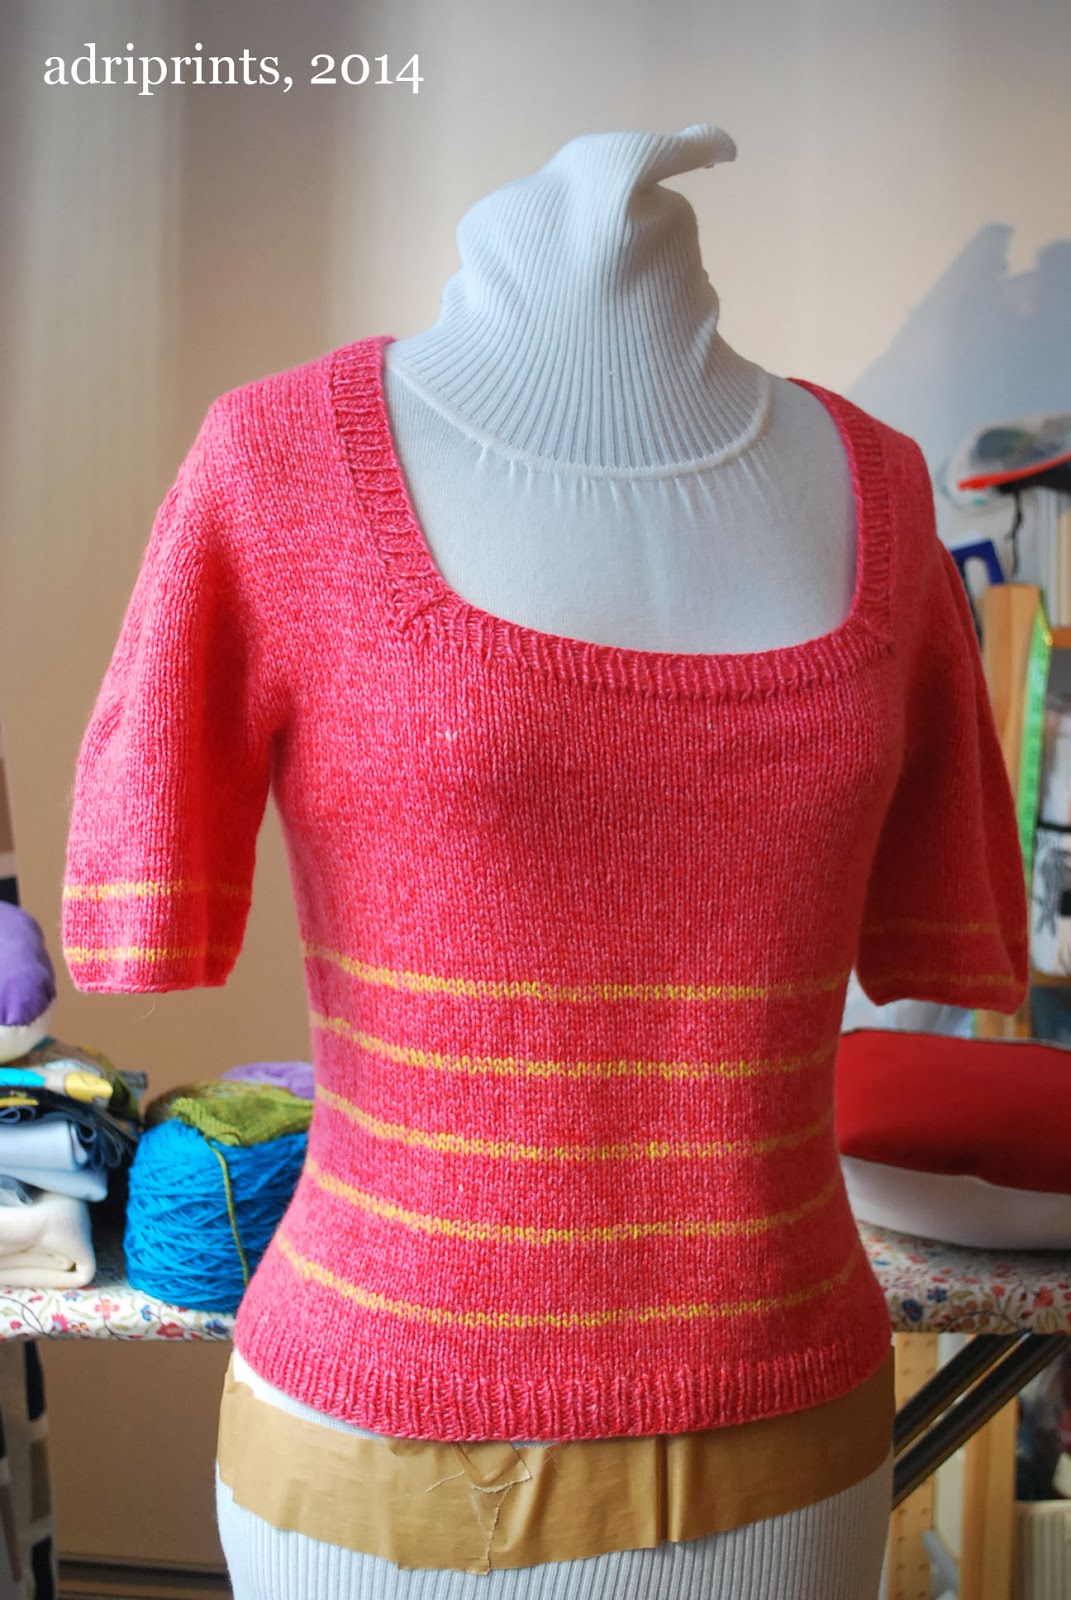
Avril in April was a contiguous method hand-knit top completed last year, but worn only once.  The sleeves and neckline were a bit too unflattering for me.  The neckline came down too low, and the sleeves were weird and poofy. Cool contiguous technique though!  The yarn used is a beautiful, bubble-gum/pepto/play-doh pink cashmere blend yarn.  So, I didn't want to just trash or donate it.  Despite the slightly pop-princess color, I truly love the yarn.  I also have some in play-doh yellow which I used for the stripes. I think it could be something else that I'd wear more often.  Yes.  Time to unwind!


Unwinding takes time!!


Every knitted stitch that was picked up needed to be unwound by hand with a hook or tapestry needle.  That took some patience, but in the end there's this!


 A bunch of little pink balls and one big hank.  So, how do you re-use the yarn once it's all kinked up from knitting?  Well, next, I'll secure the yarn off the winder.  Then, I'll soak it and hang it to dry with a knitting machine weight on one end.  When it's dry, I'll re-wind it into a yarn cake and knit it up!

Thursday, February 6, 2014

FO: Twinsies Baby Blankets


I finally finished my first big machine knitting project/commission!  The blanket was machine knit in strips, sewn together, and finished by using simple crochet borders.  The green blanket used a single-crochet border followed by a triple-crochet plus single chain stitch to create the dashed-dot look.  The pink/purple blanket used a series of increasing crochet stitches to get a subtle scalloped look.  Both were then steam pressed from the opposite side with a damp press cloth to stop them from curling... but they still kind of curl.


Both blankets are done!  I've already packed them and prepped them for shipping. :)

blocking

close-up
It's the first time I've done a dedication/title block/ blanket info square.  Hopefully the end-user will know not to shove these in the drier.  These are 75% superwash wool 25% nylon, but even then, I'd still avoid the drier.

dedication square
 Yay! Now, I can focus on knitting stuff for my baby!

Previous posts about these blankets:
Boy Twin Blanket Complete
The Concept